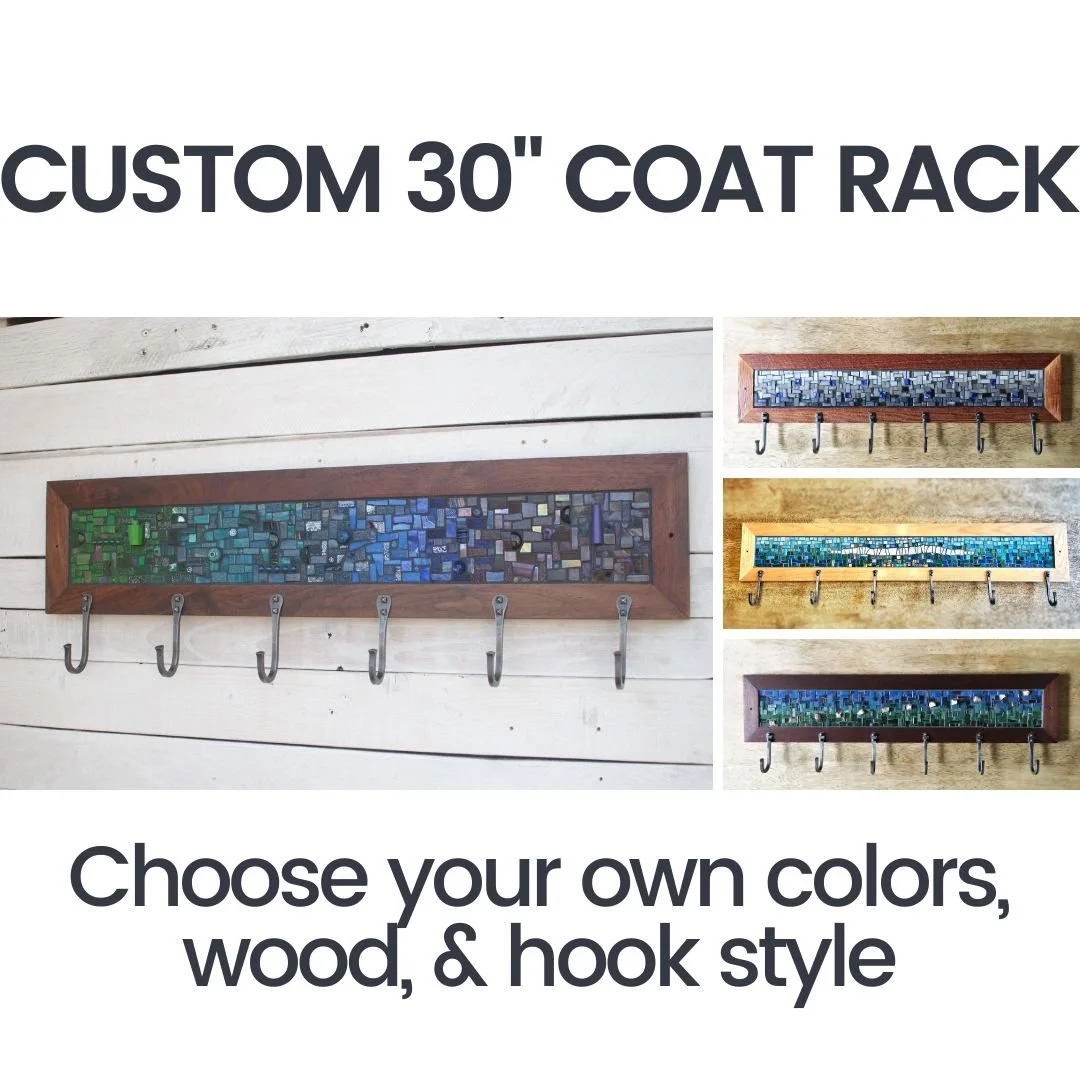
Six Hook Custom Coat Racks
We've made quite a few six hook mosaic coat racks this year, each with its own special twist. We thought we'd share a few photos to show you the steps to creating a custom piece like this.
{Click any image to enlarge.}


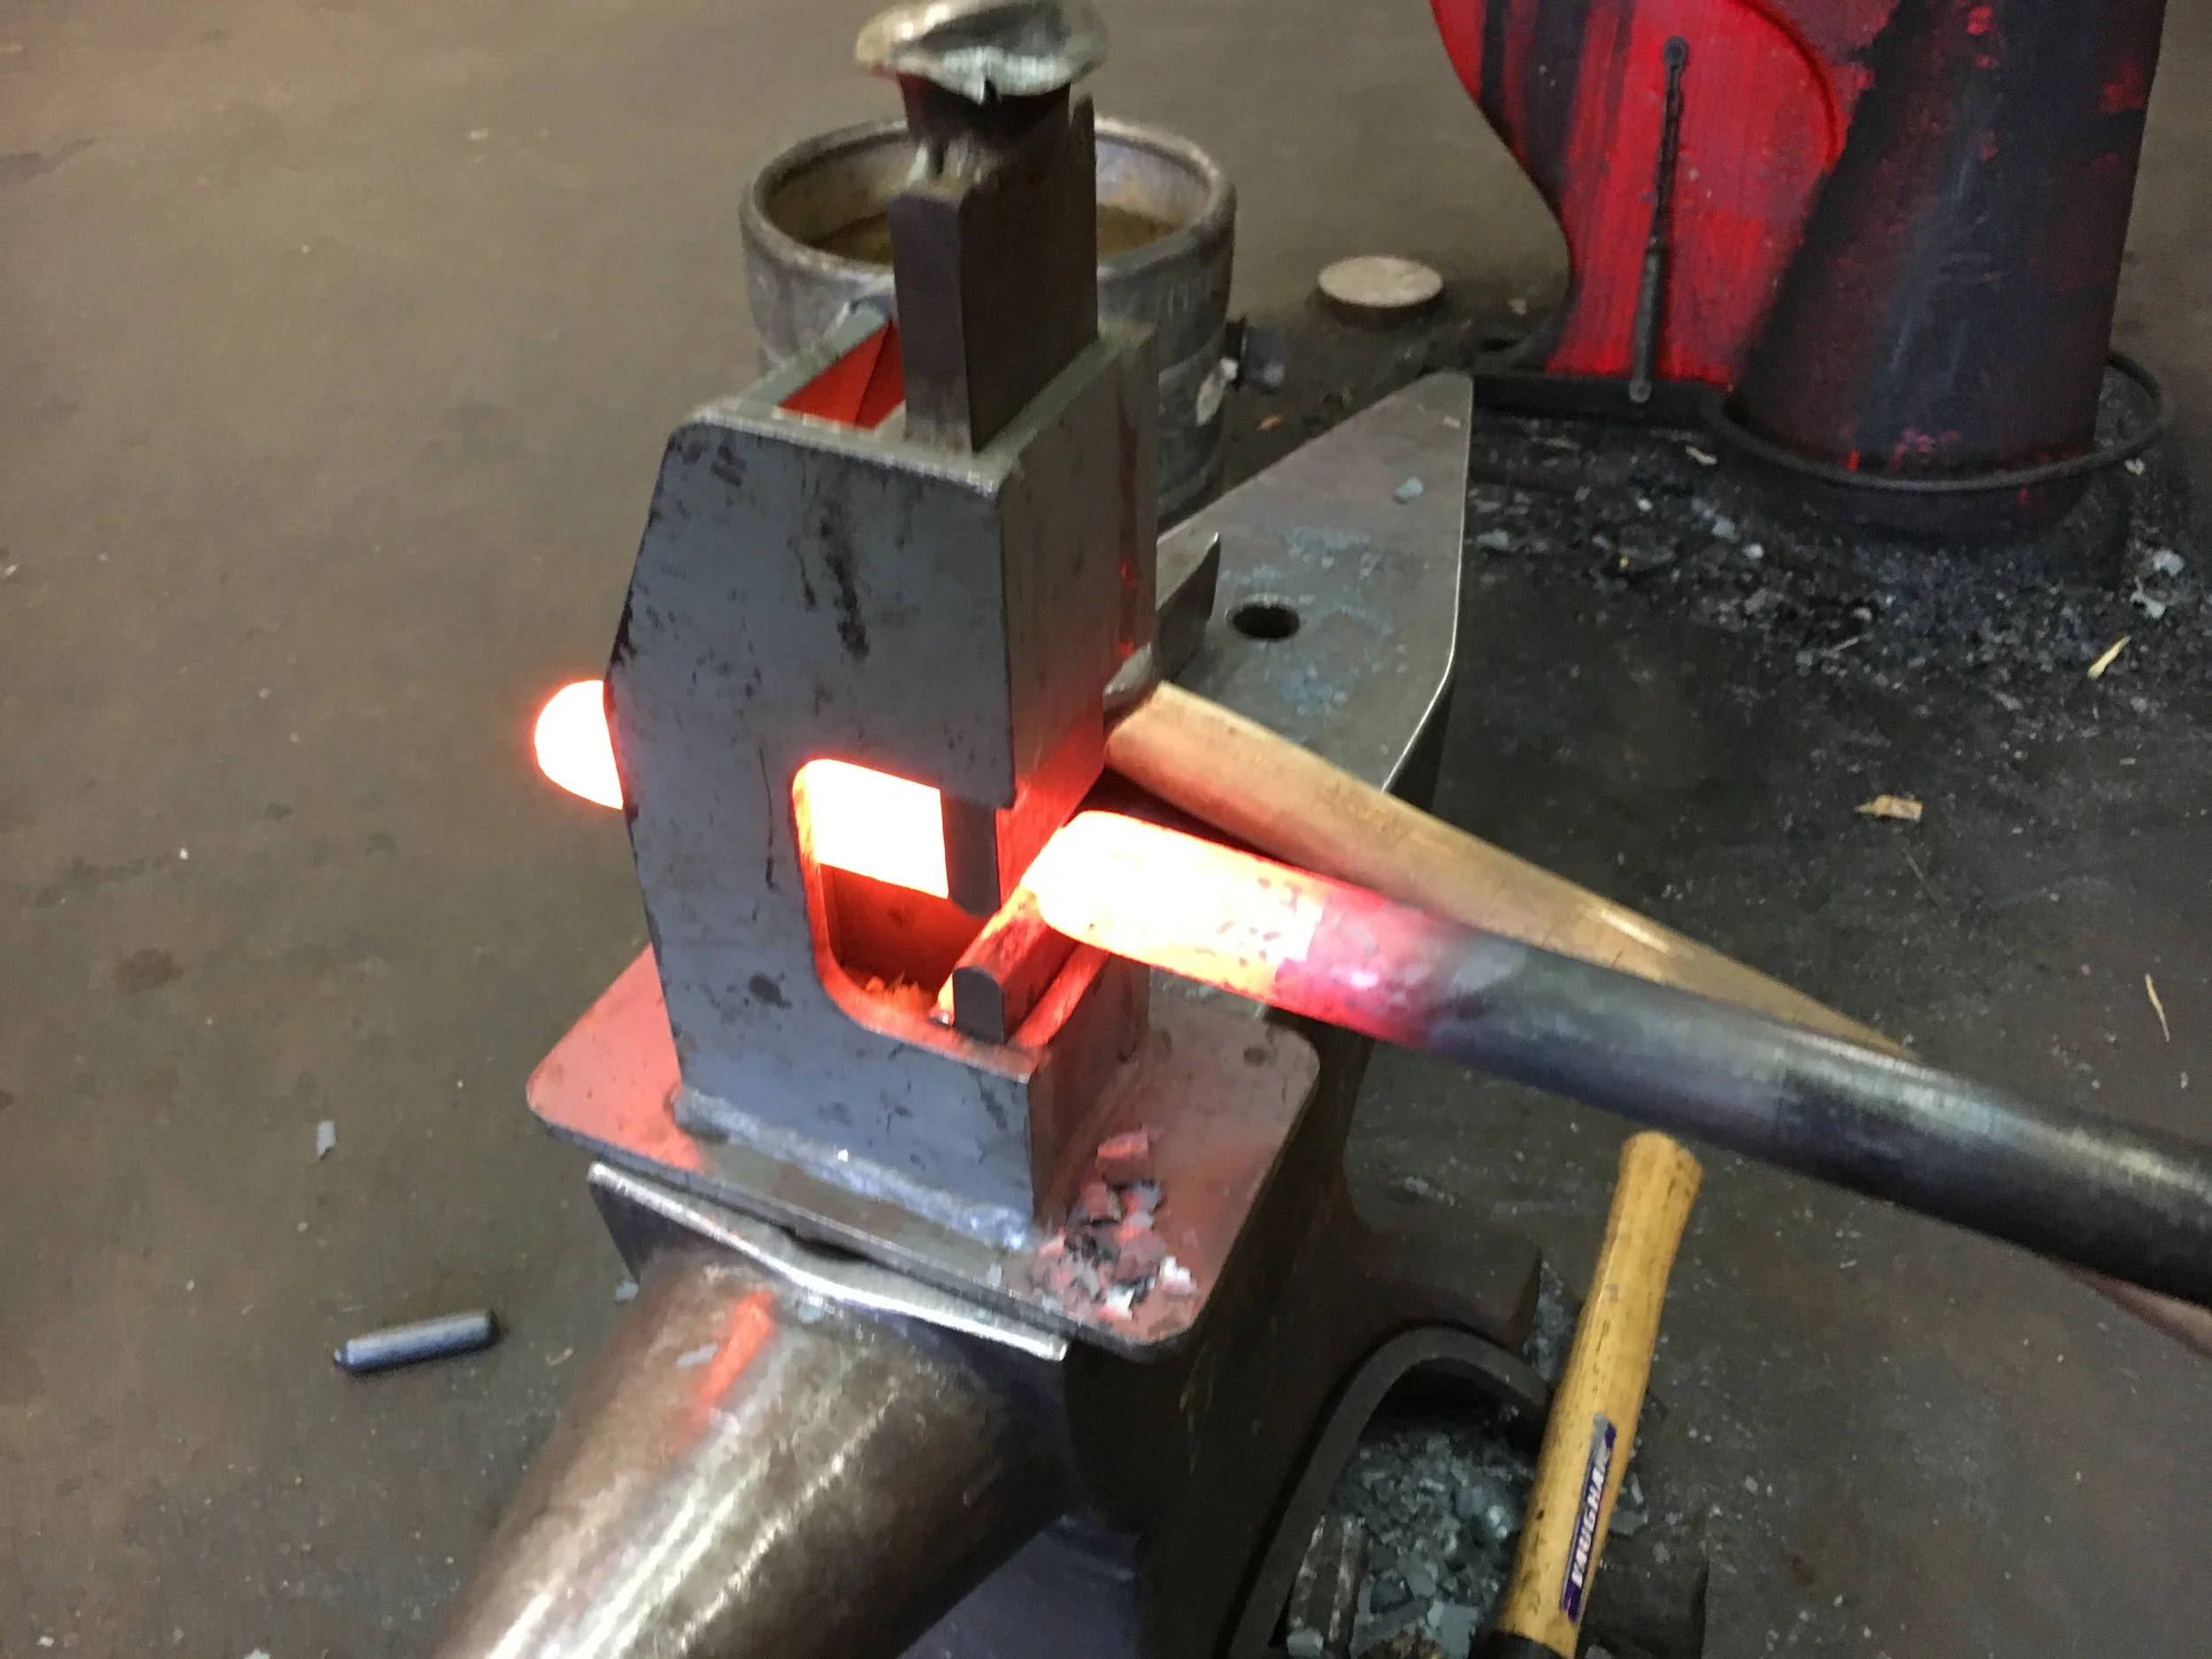
This first group of photos shows the process of creating the mosaic itself.
In the first three photos, you can see:
creating a color gradient based on photos submitted by the client.
an example of the reclaimed material we use for all our mosaic supports. This particular board's former life was a template for a railing.
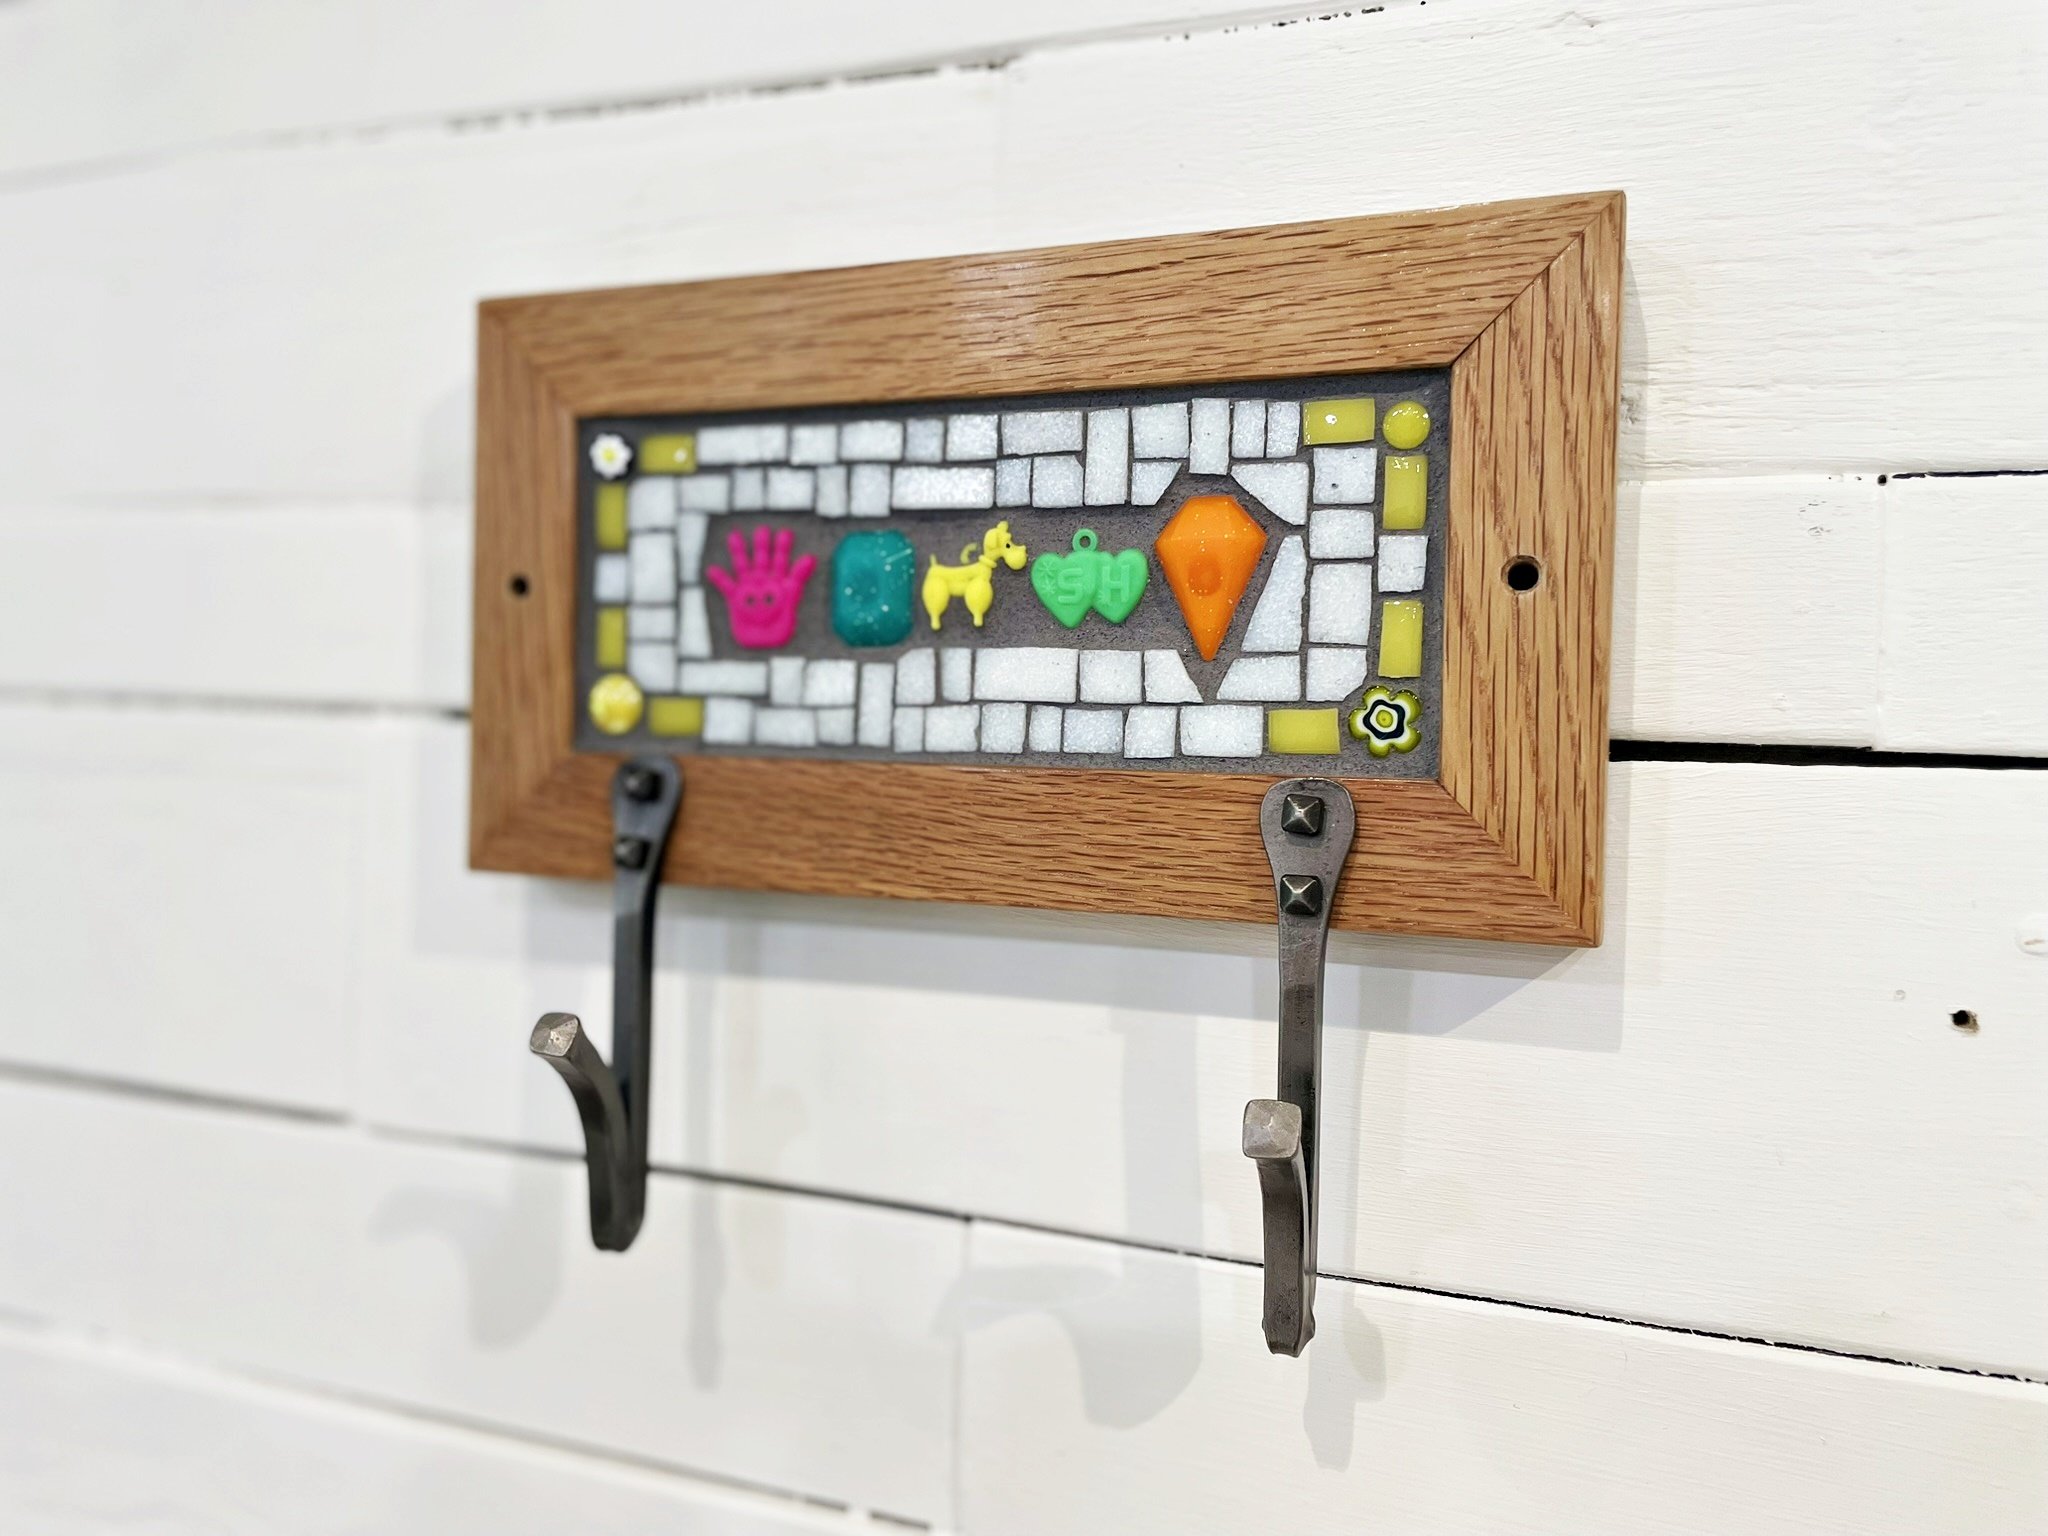
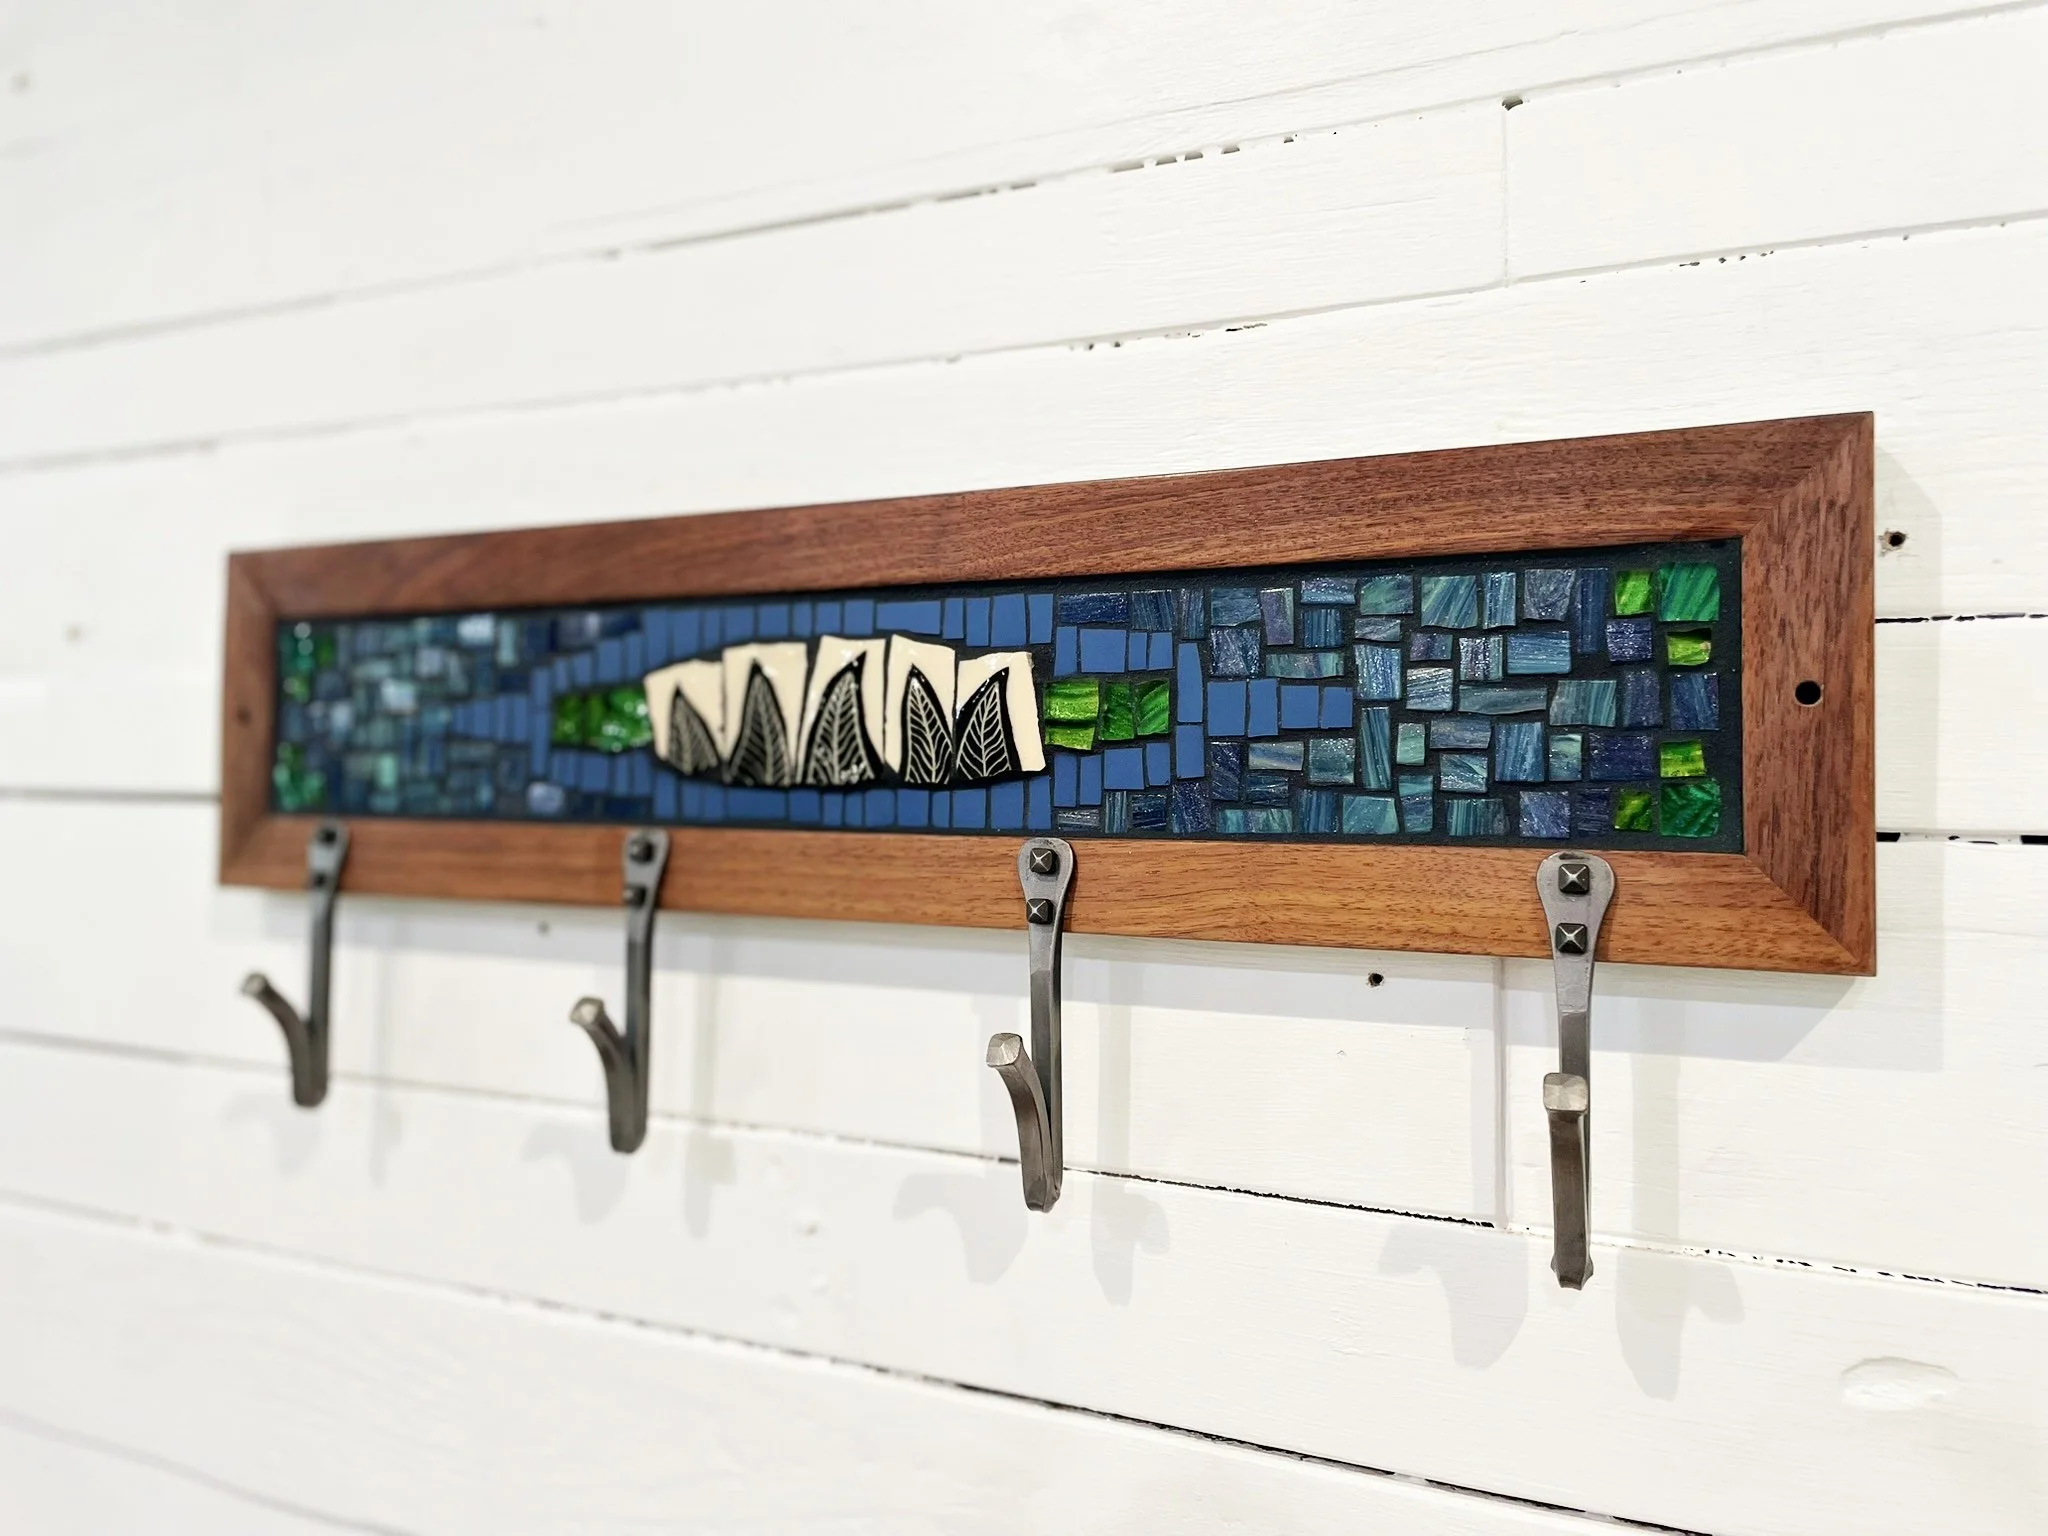
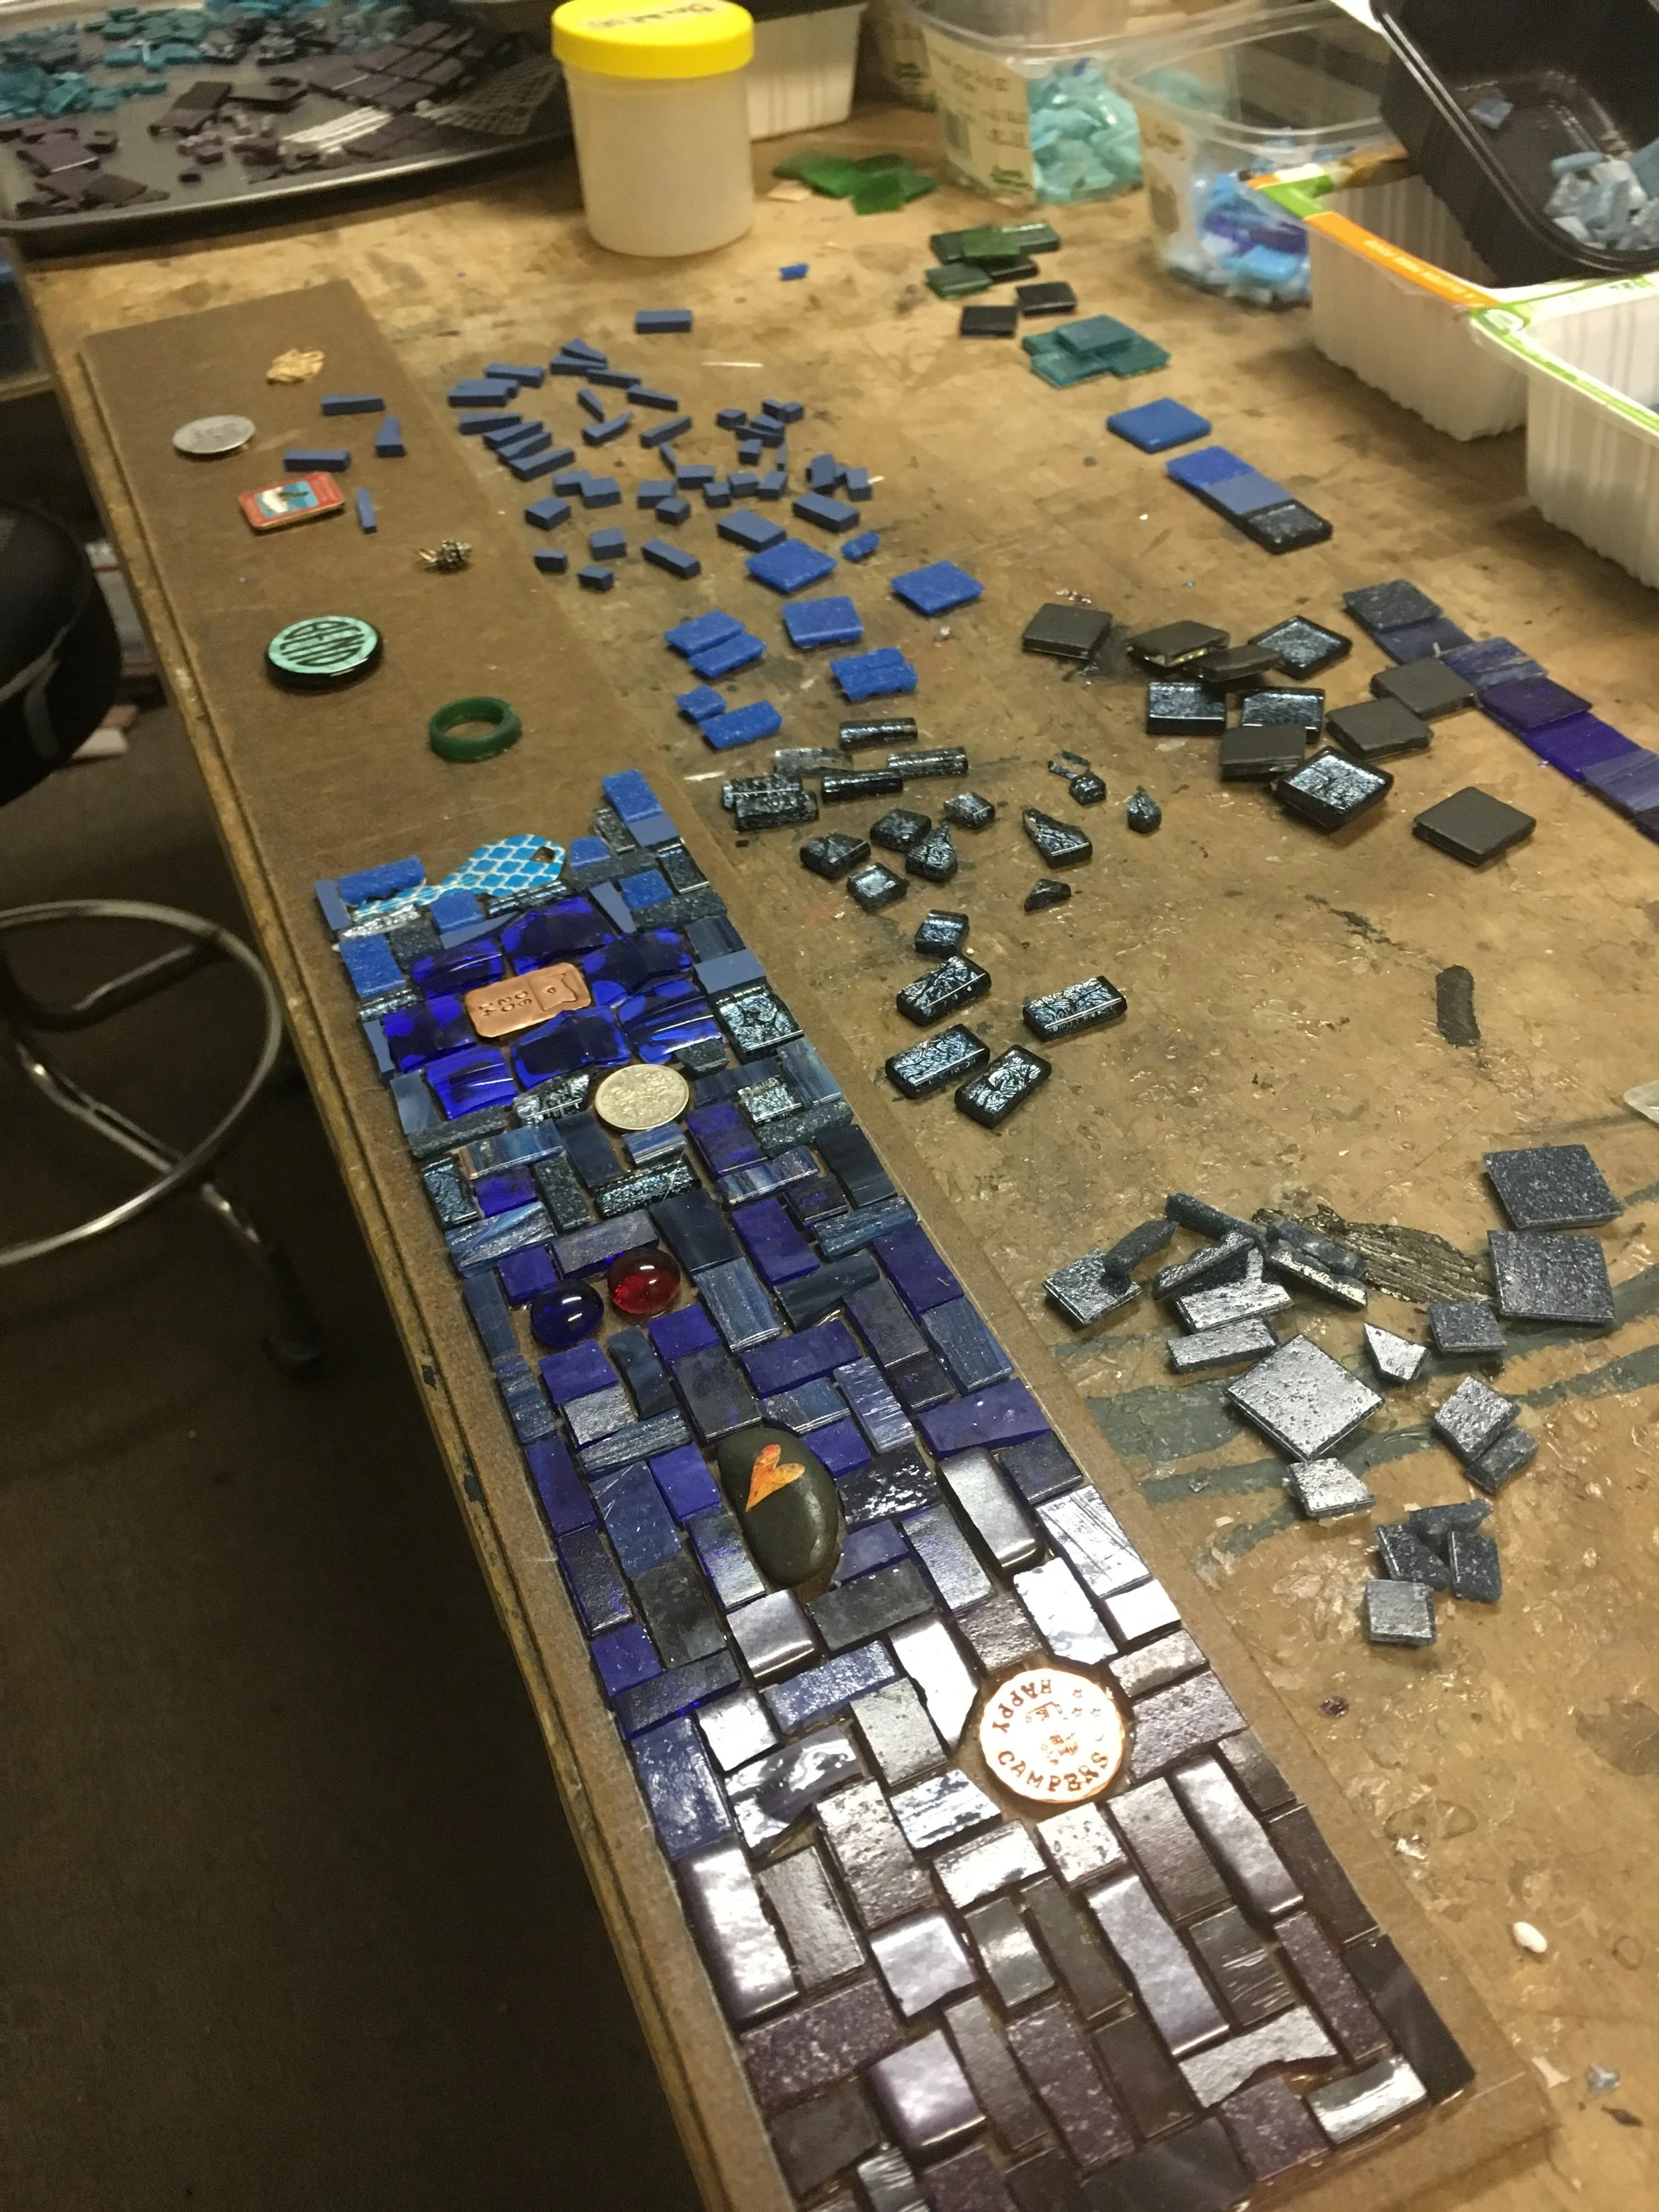
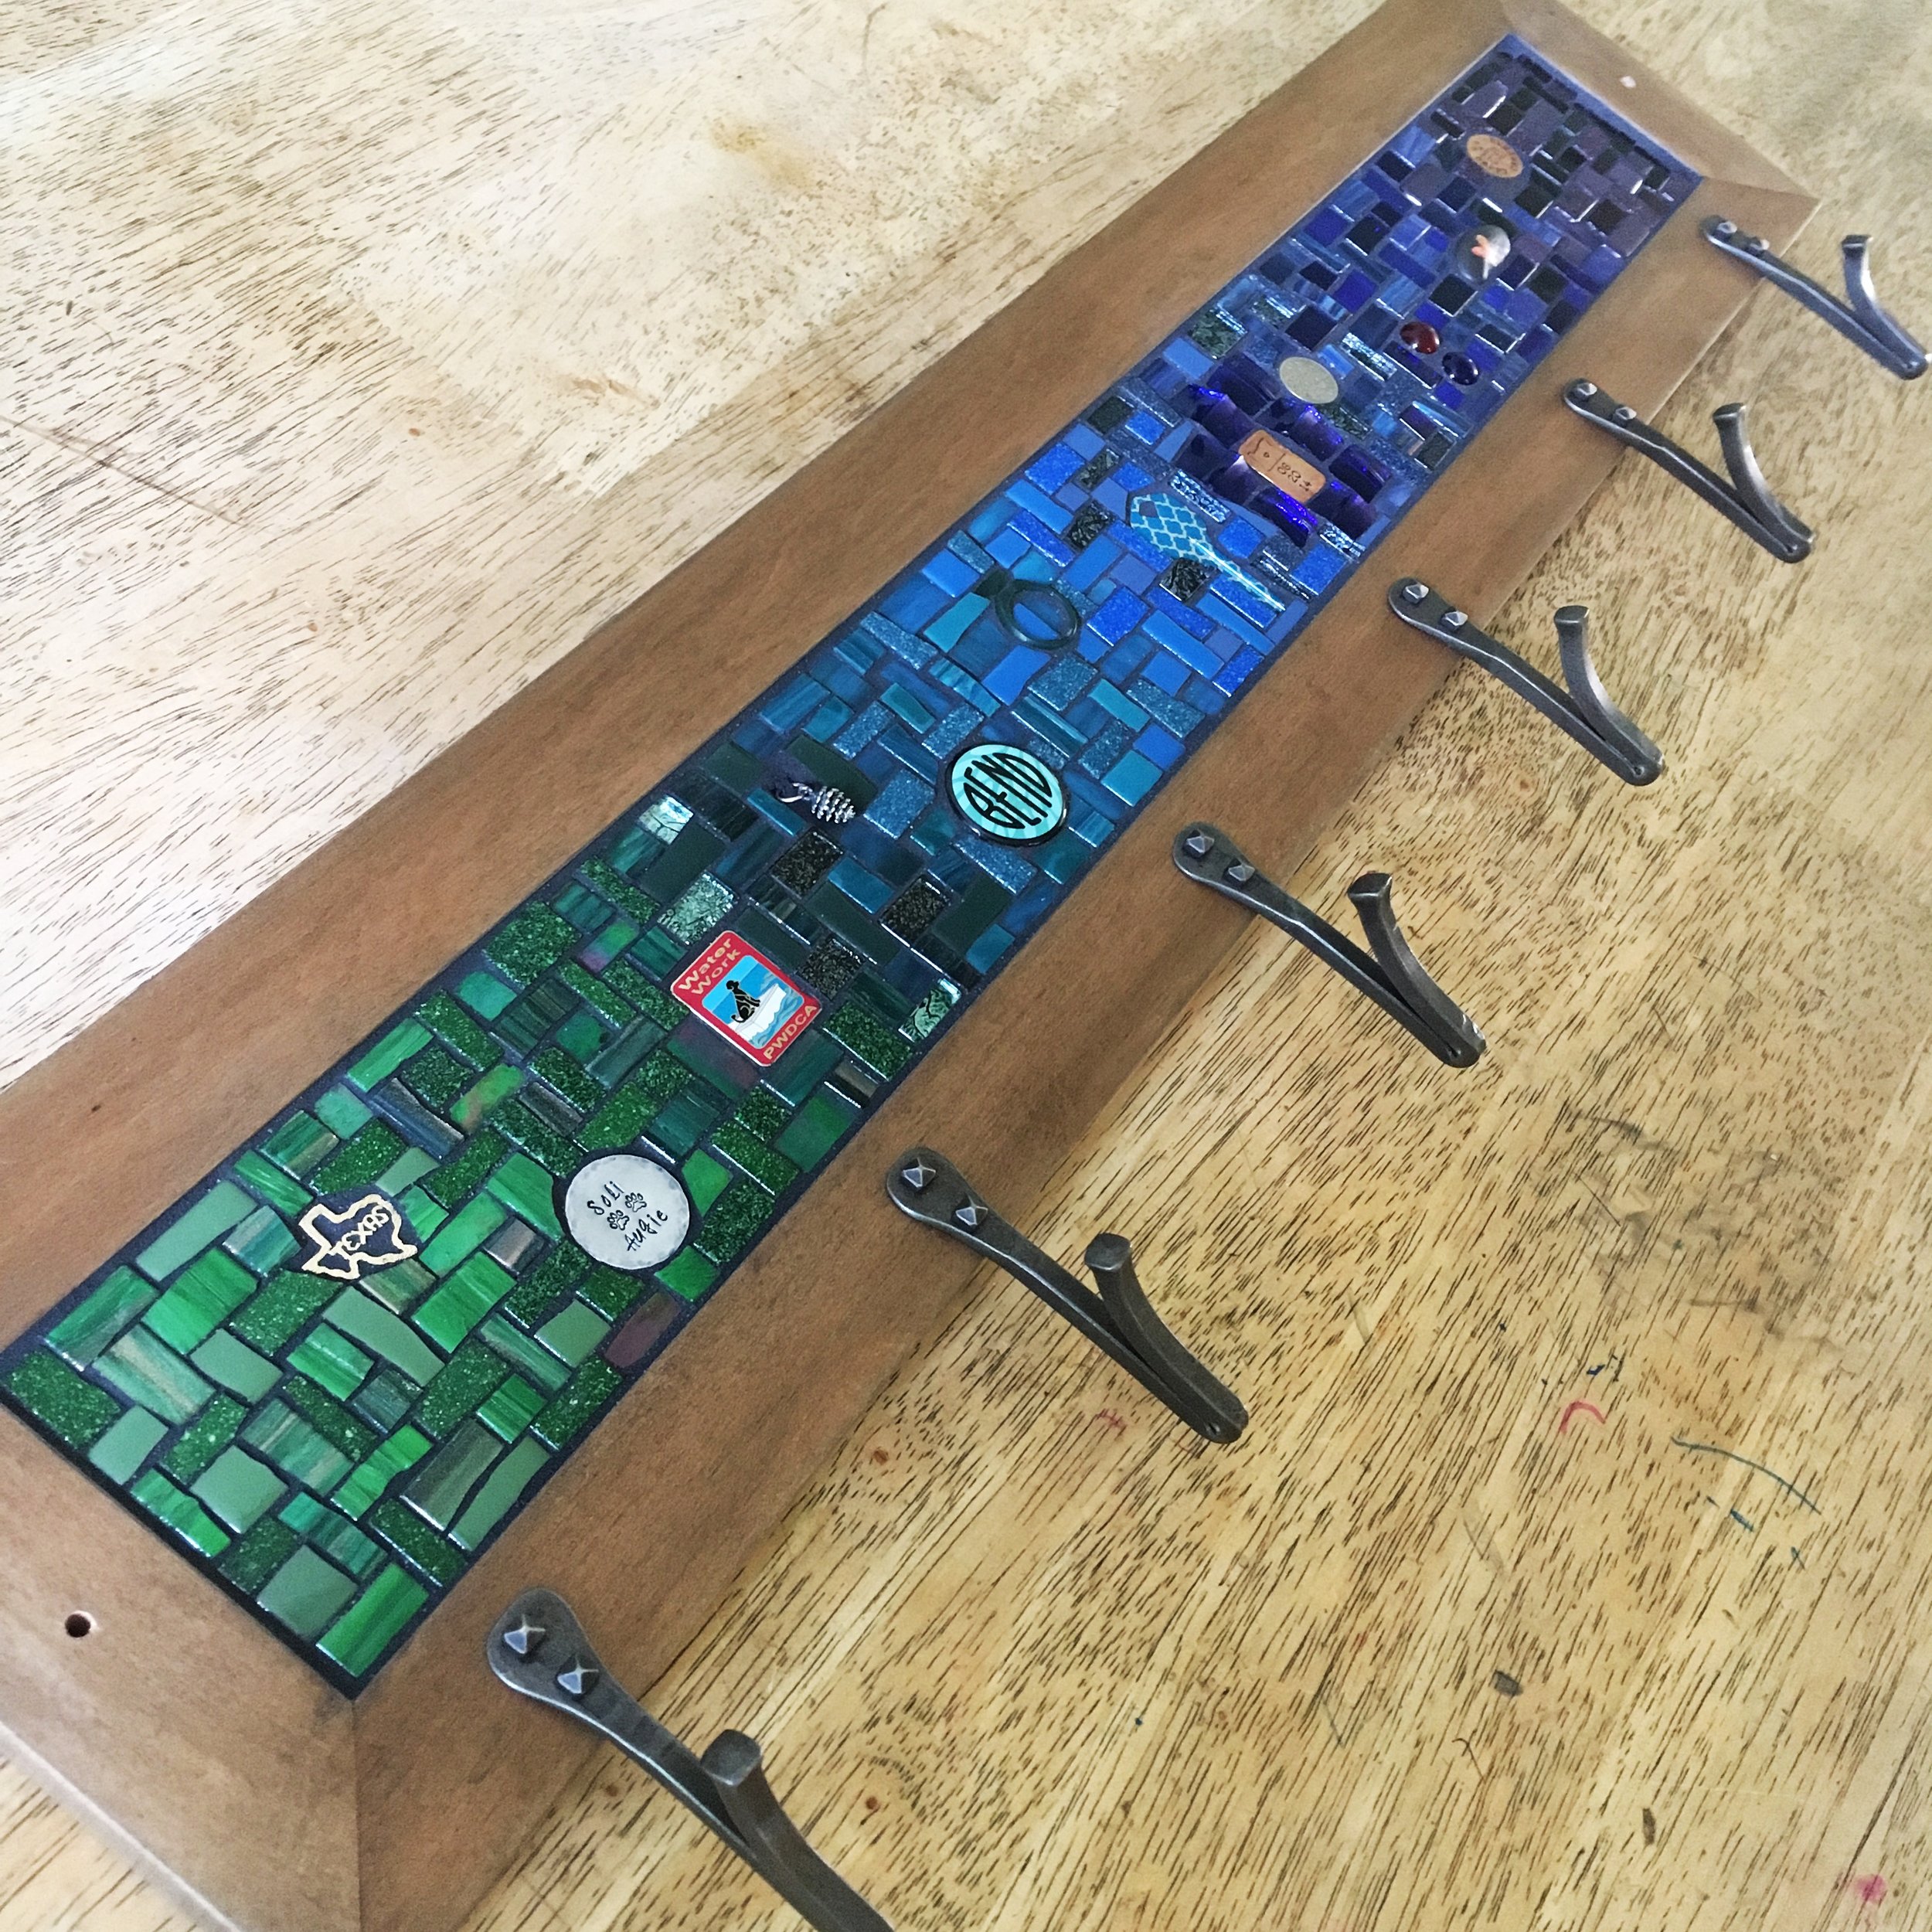
a blue mosaic celebrating the couple's anniversary with mementos from their relationship.
Next three photos show:
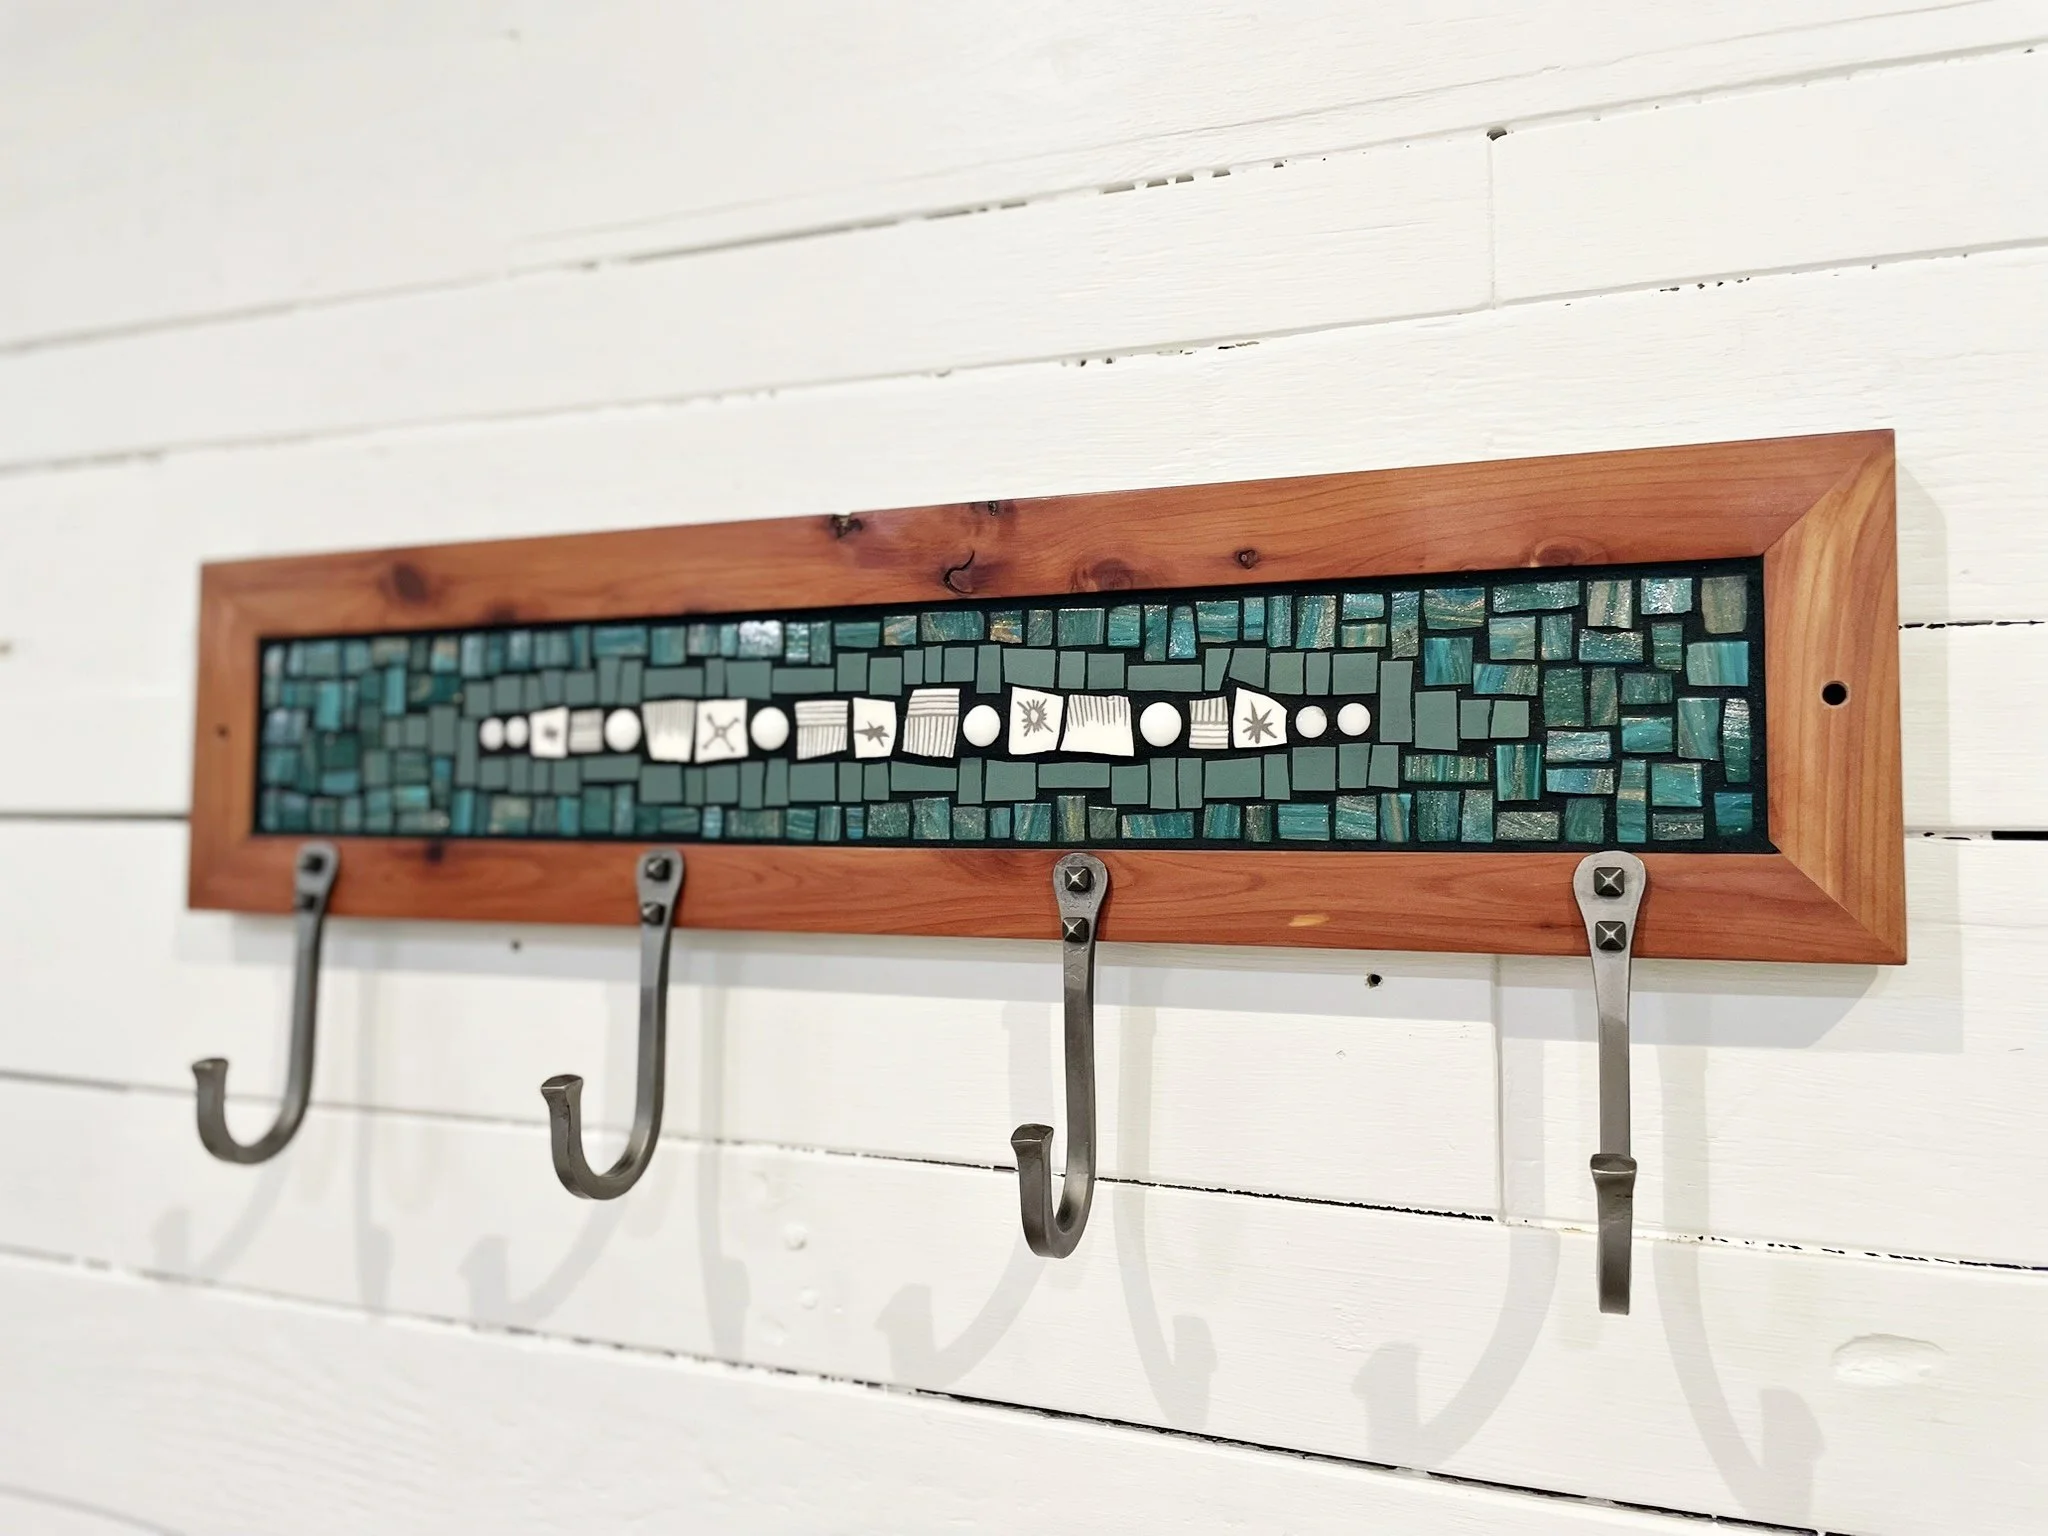
a mosaic with found objects.
Johannah's mid-process studio mess.
a mosaic featuring coins left over from the customer's travels.


This group shows what happens once the mosaic is complete. First the mosaic is glued into the reclaimed wood frame made by Kyle. Next the mosaic is grouted, a process that often requires plenty of blue tape to protect the frame and some found objects and mementos. Last the hooks are installed. We love seeing the texture and shine of mosaics in raking light. The way mosaics change in the light is a big part of their magic.
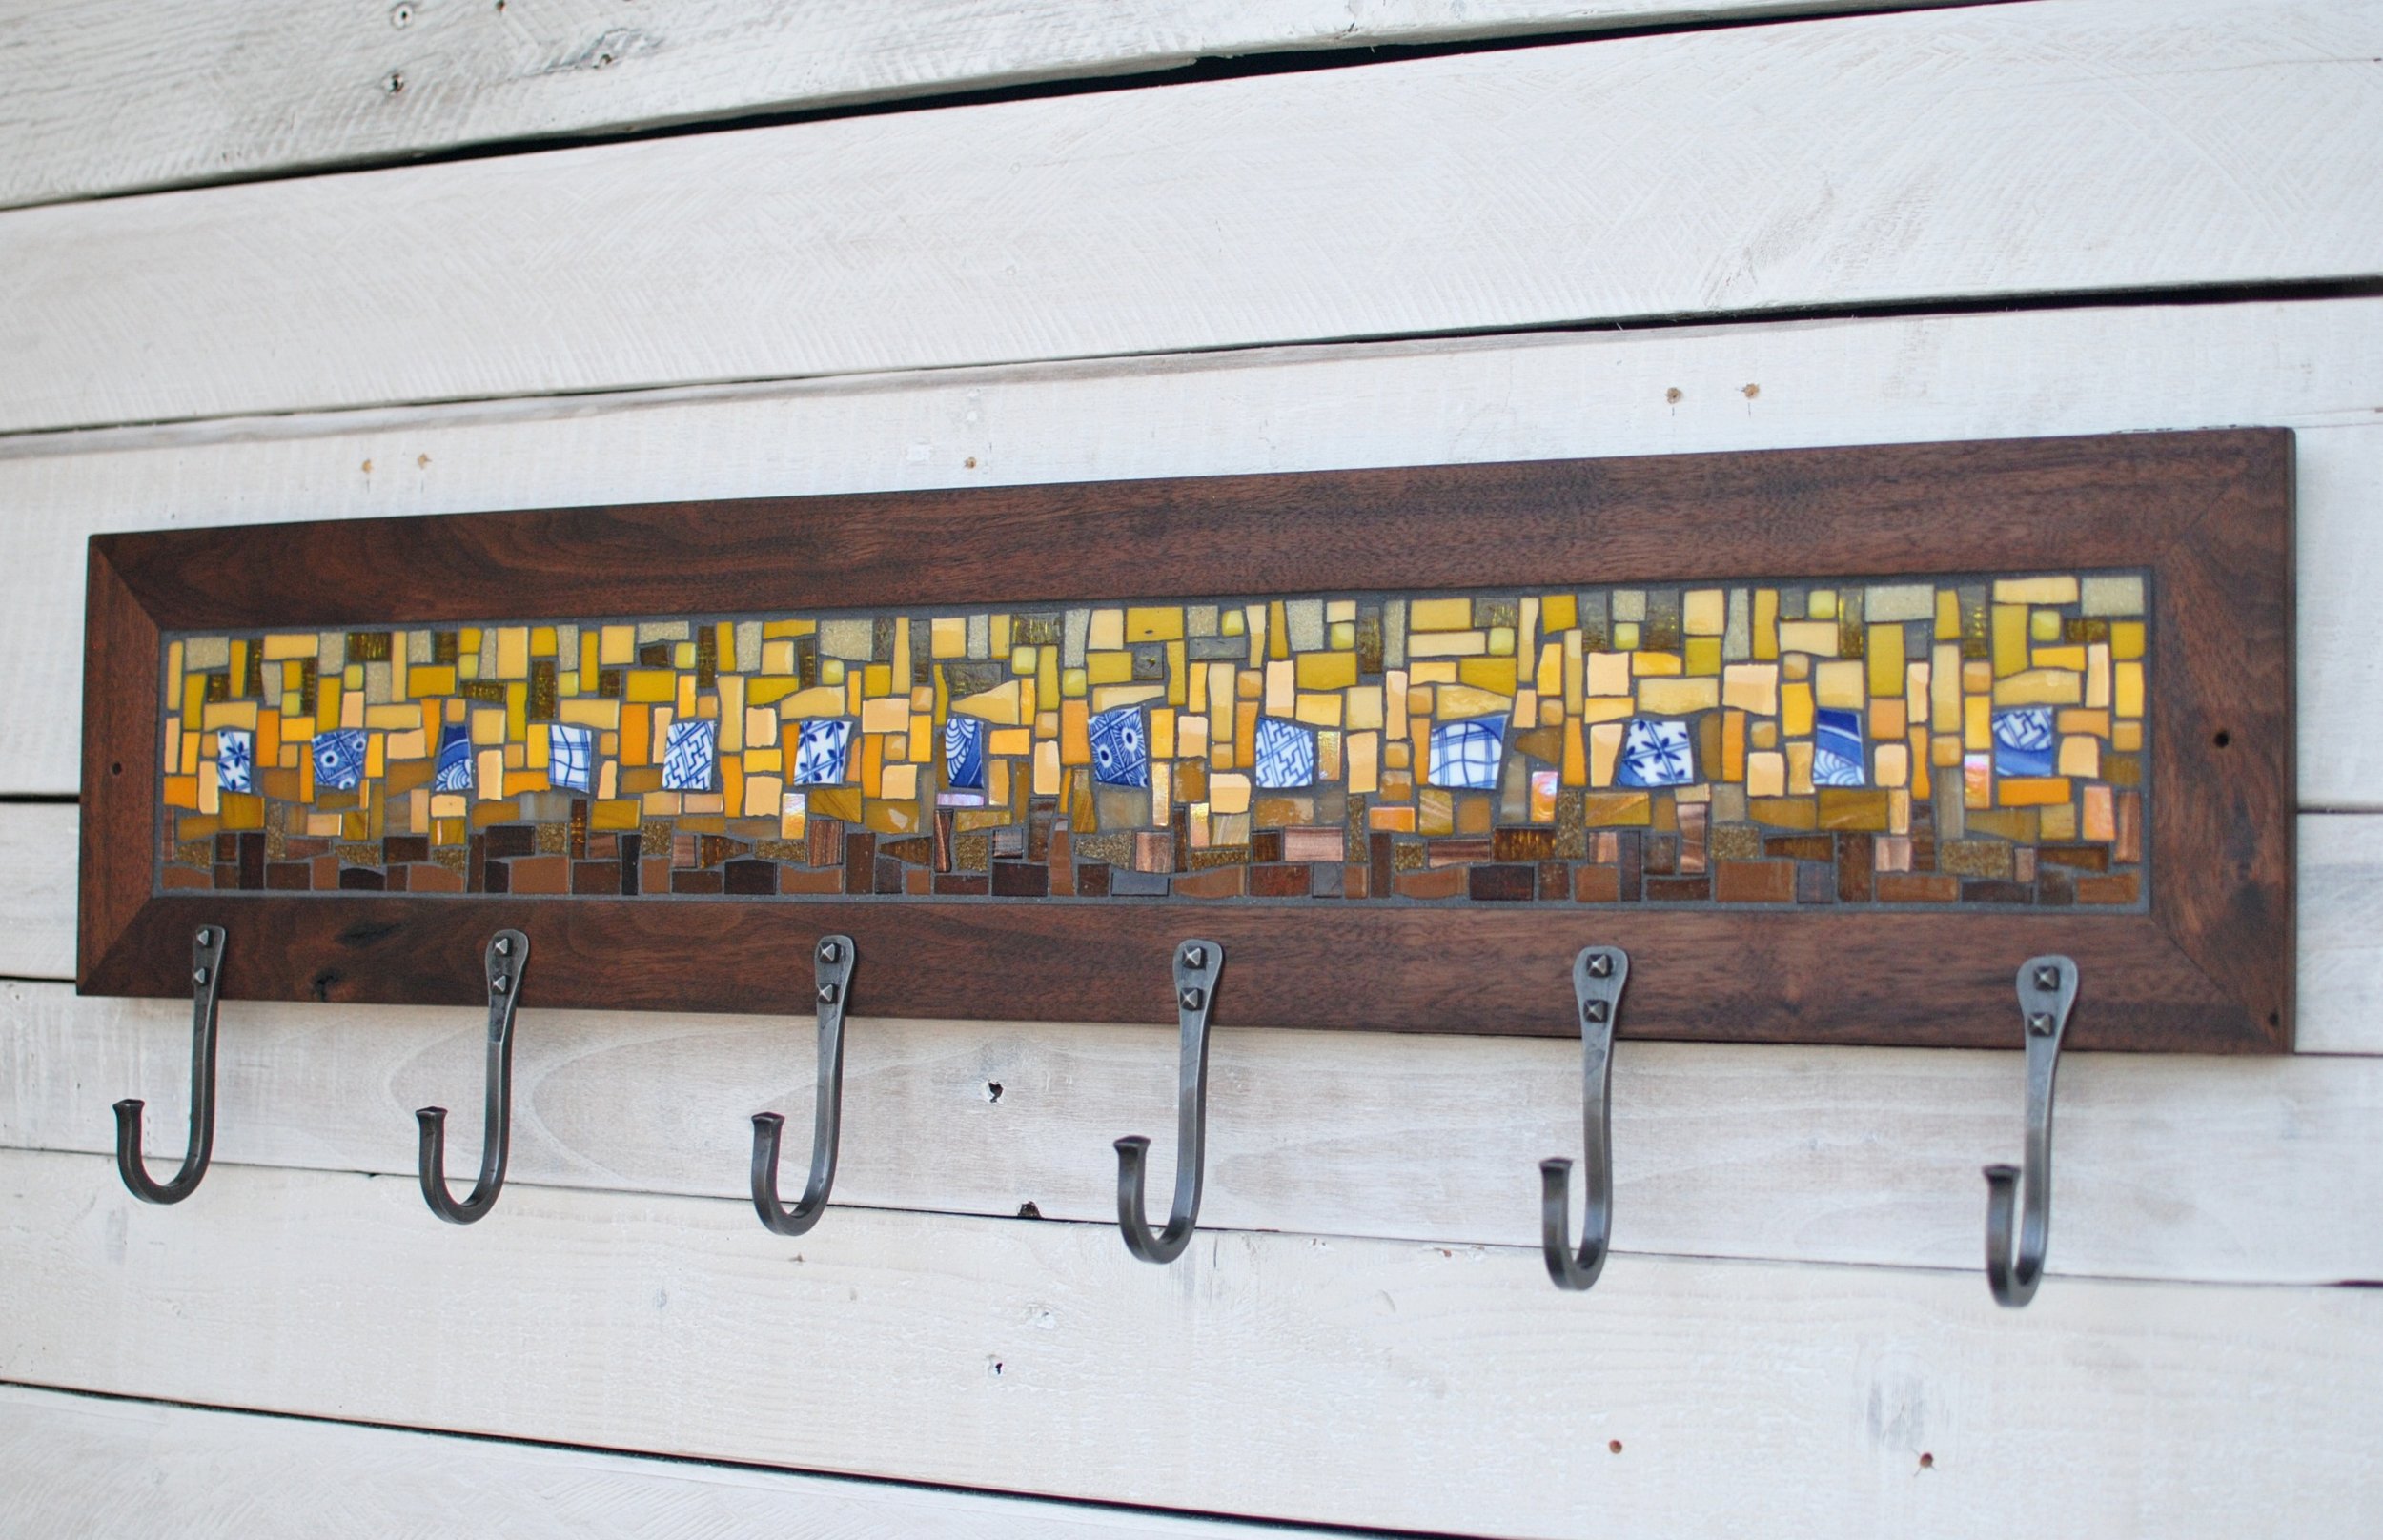
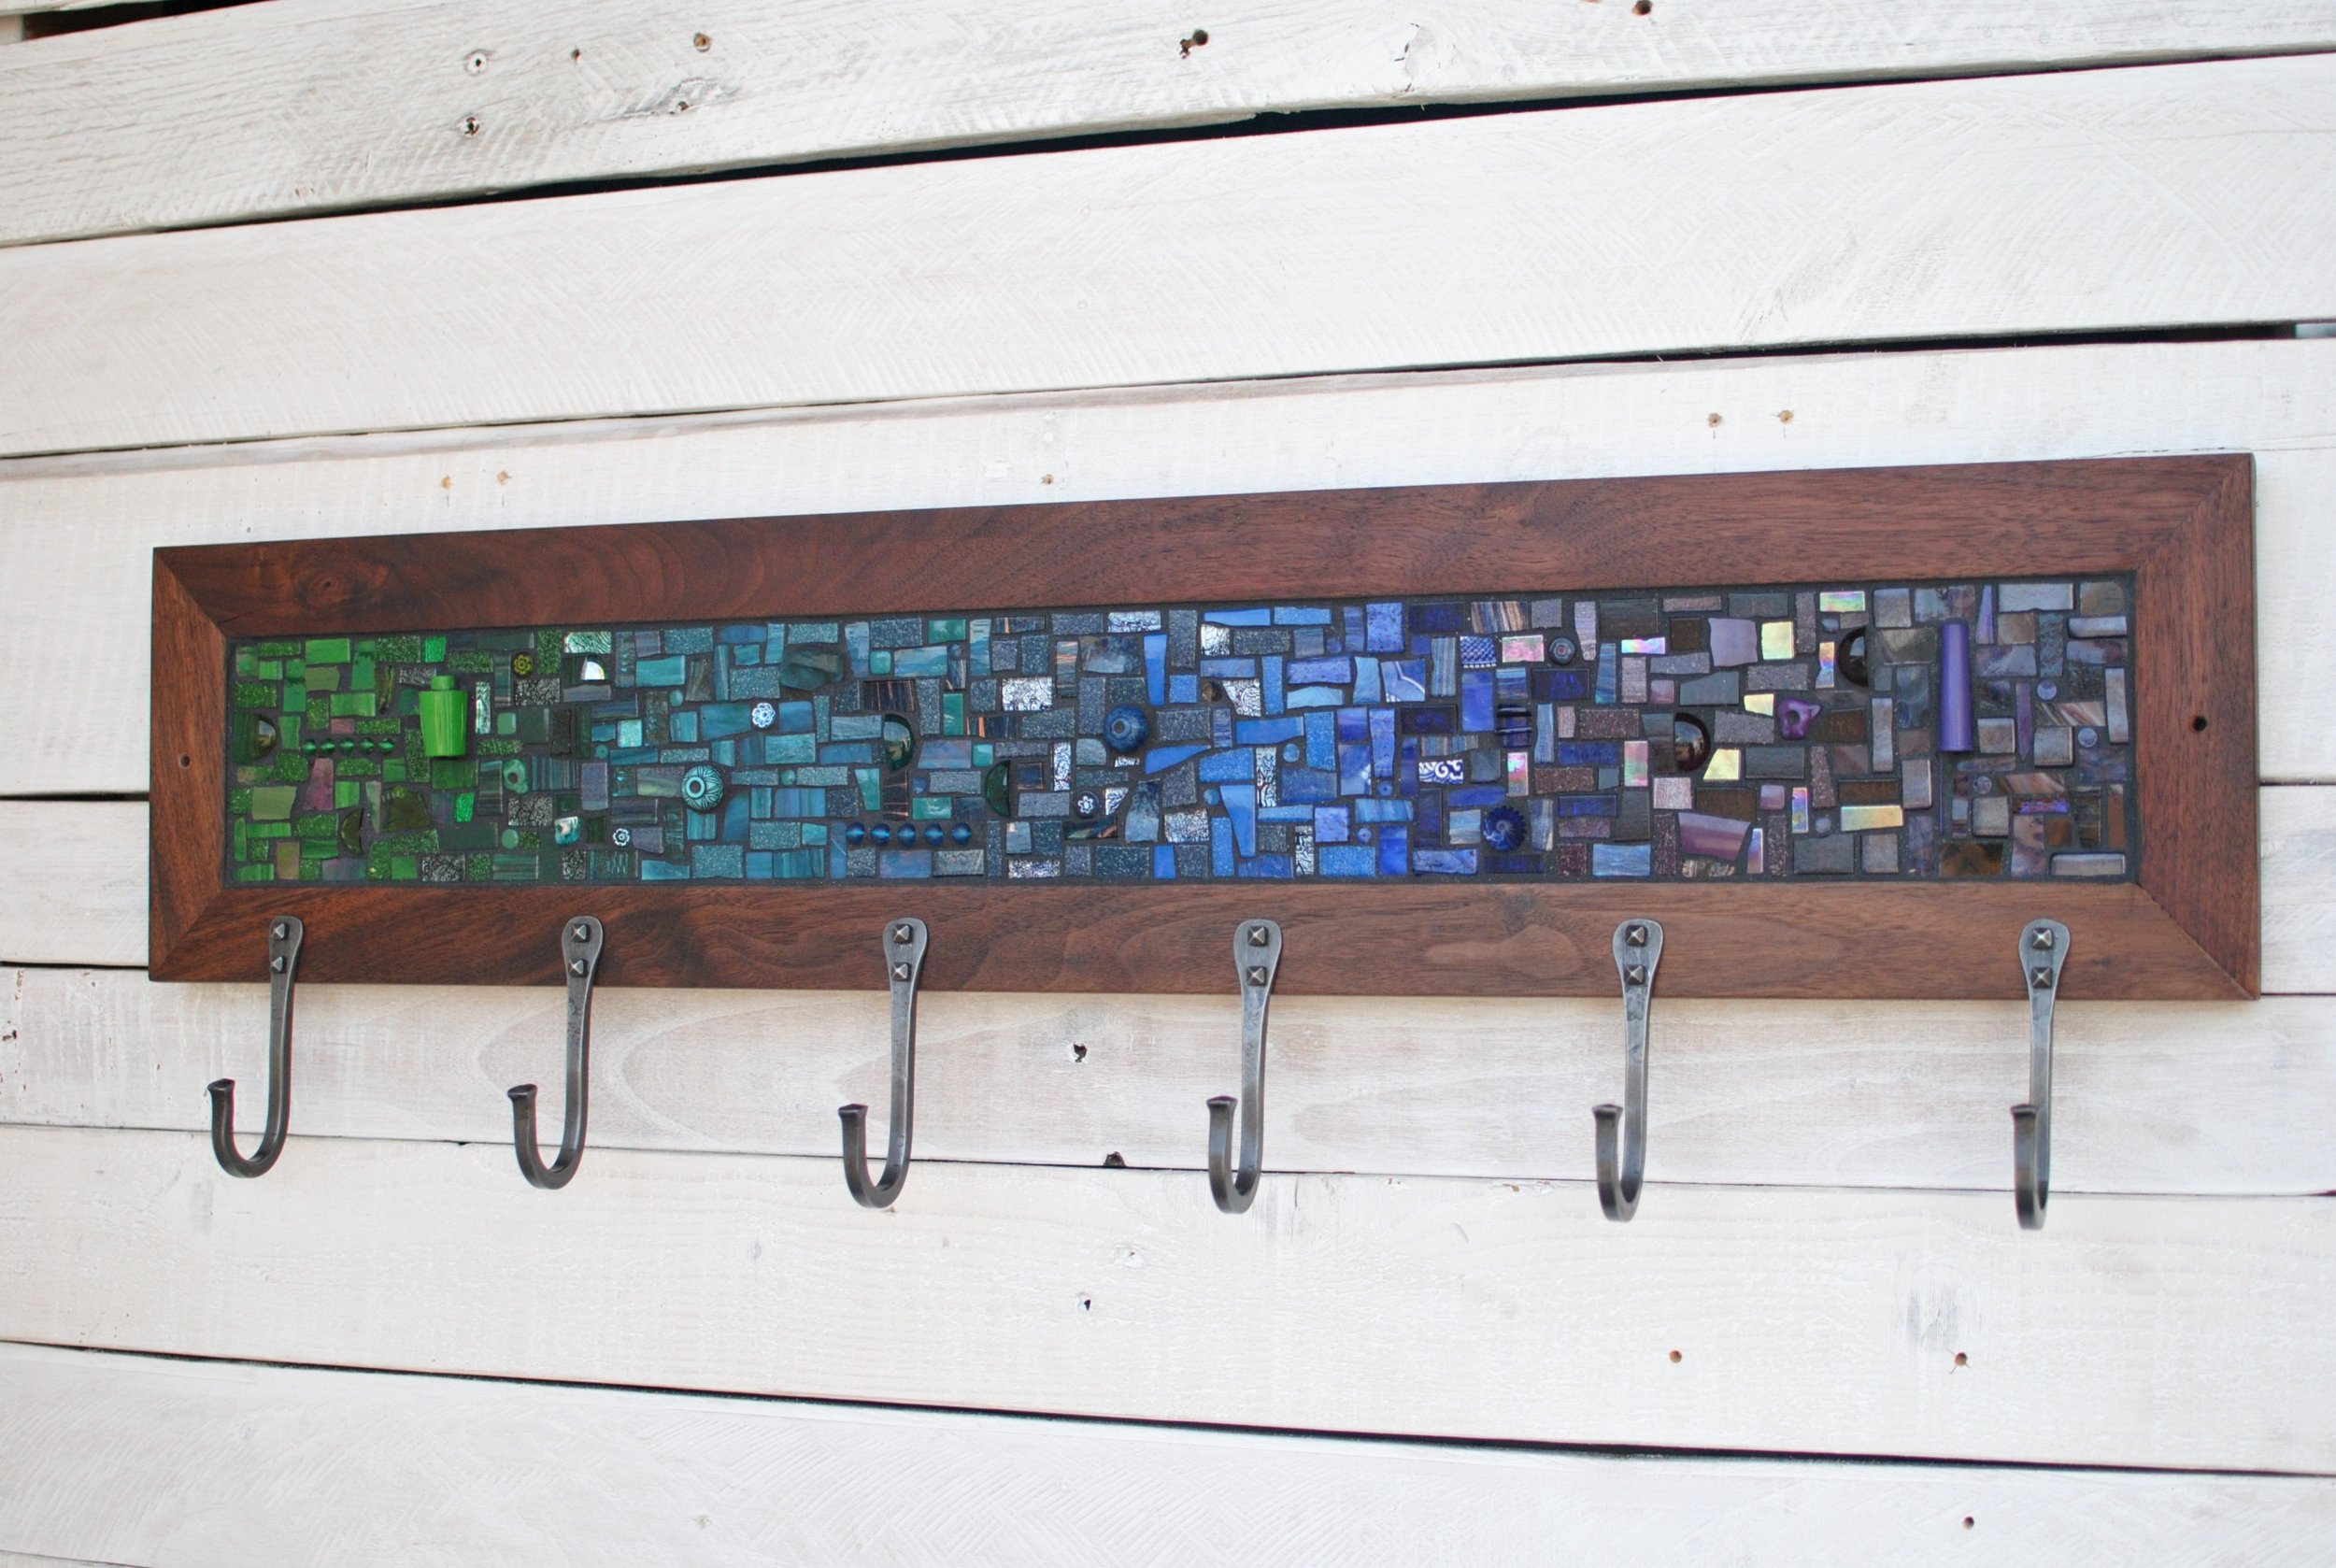
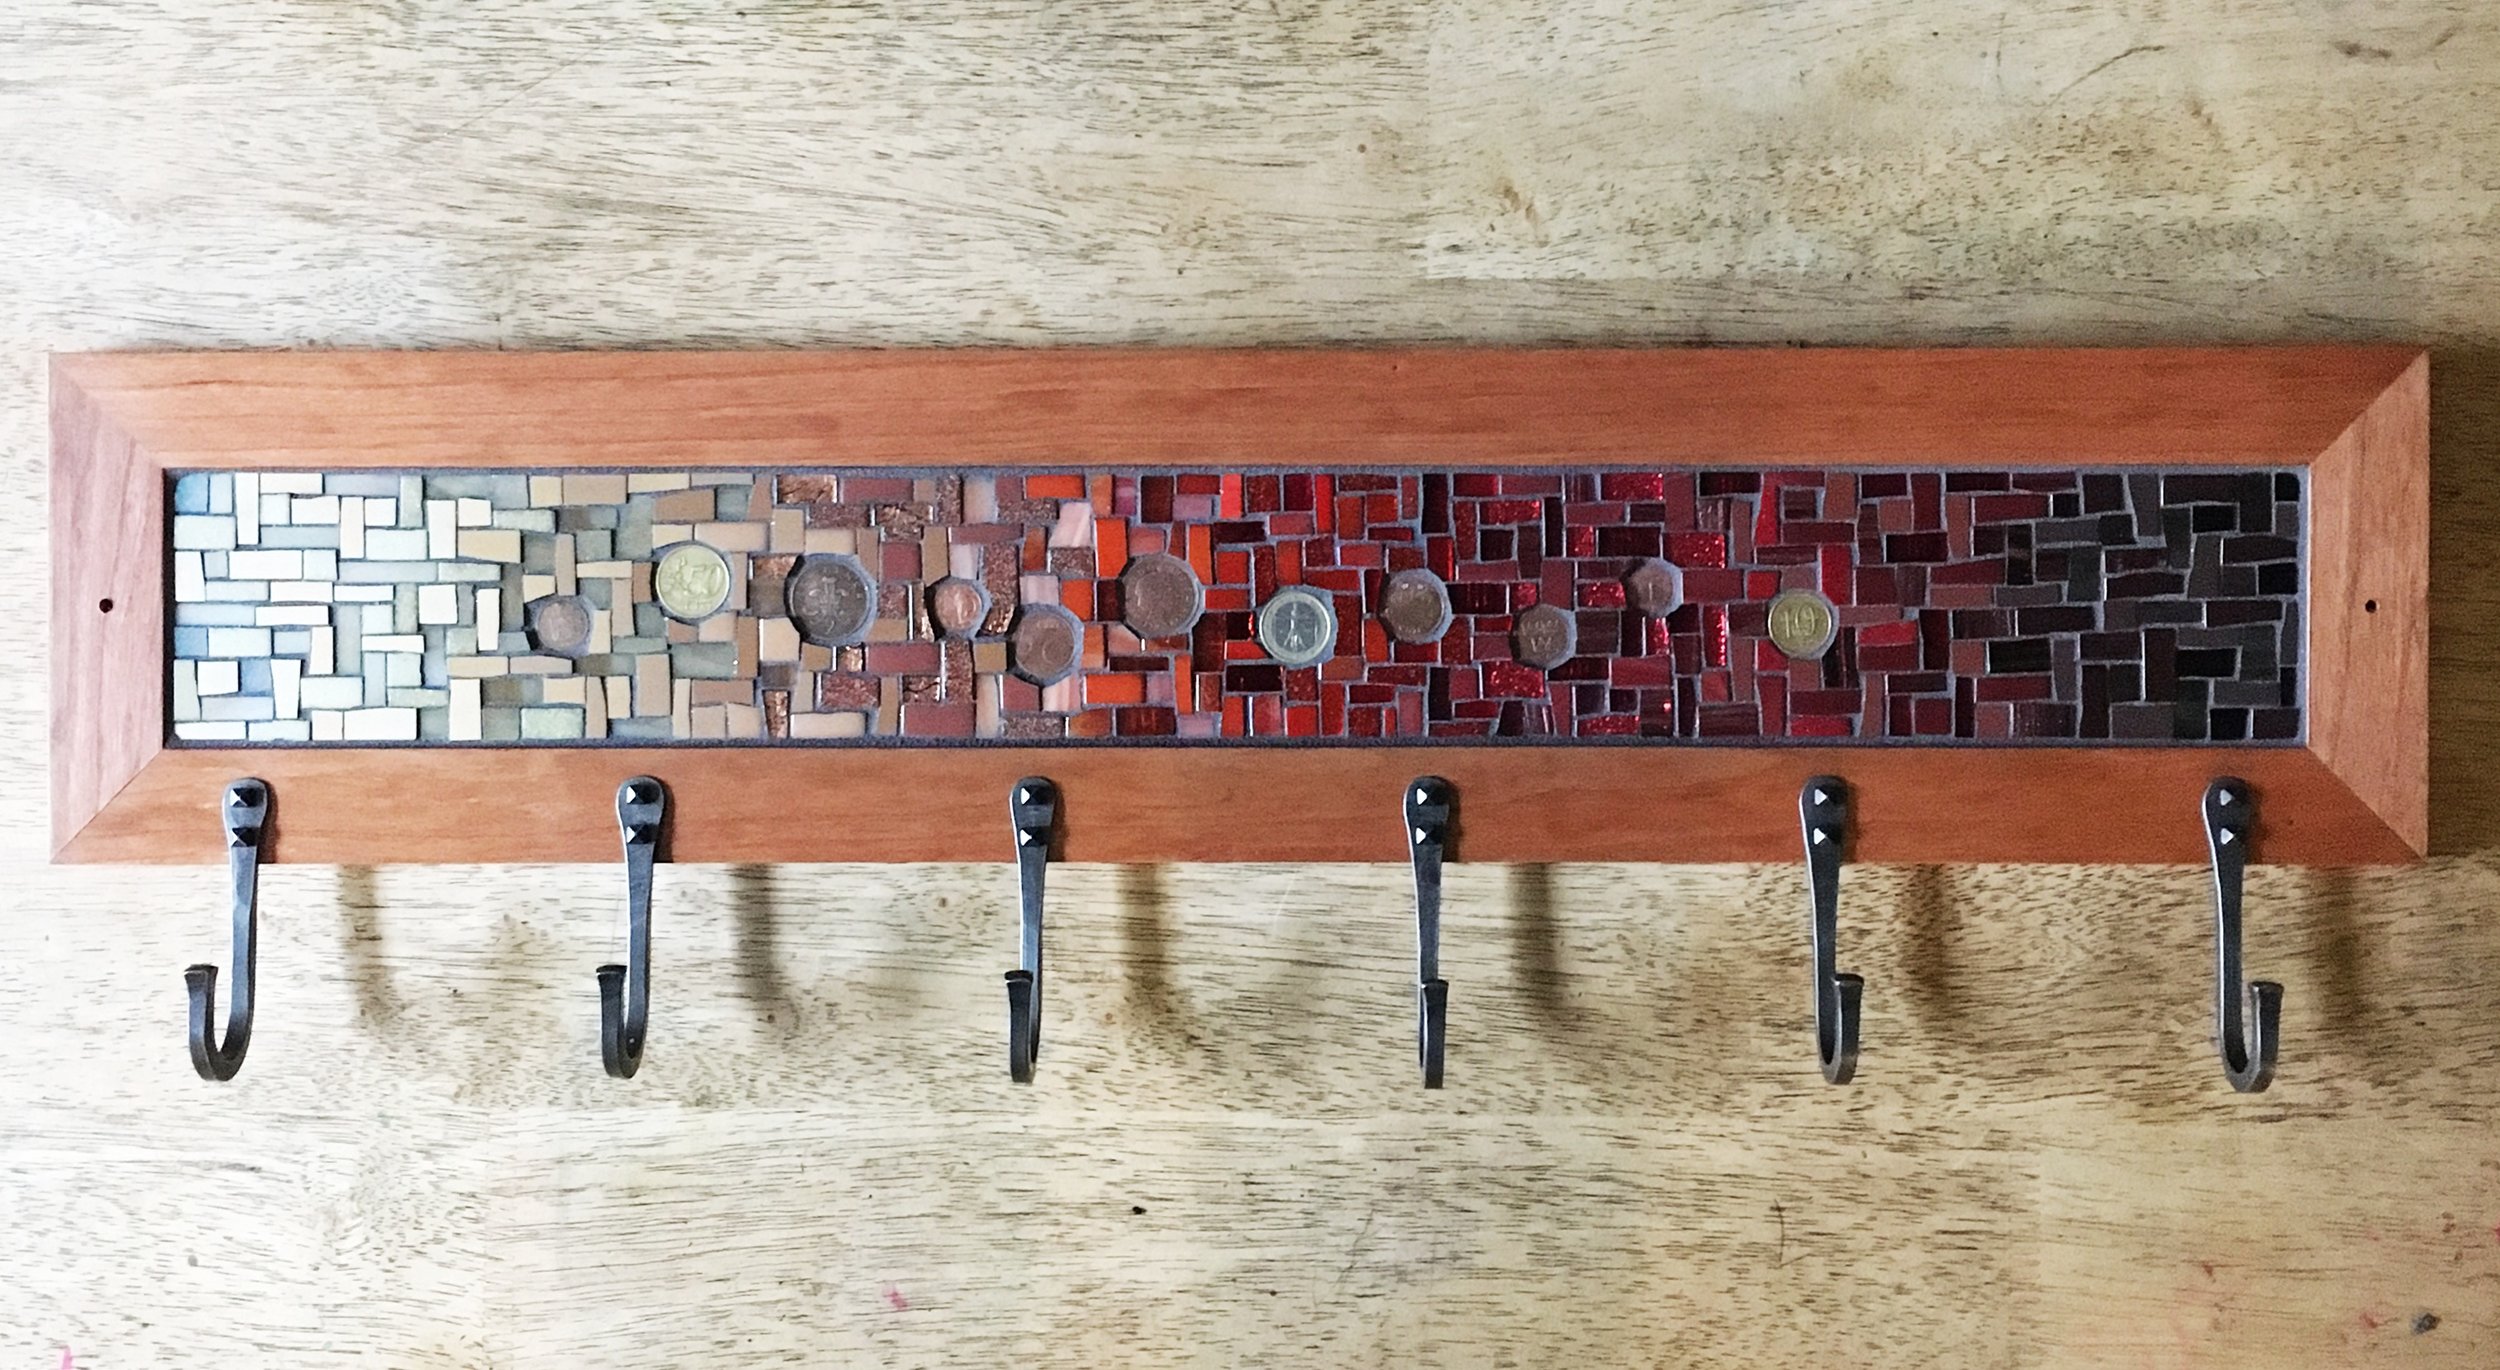

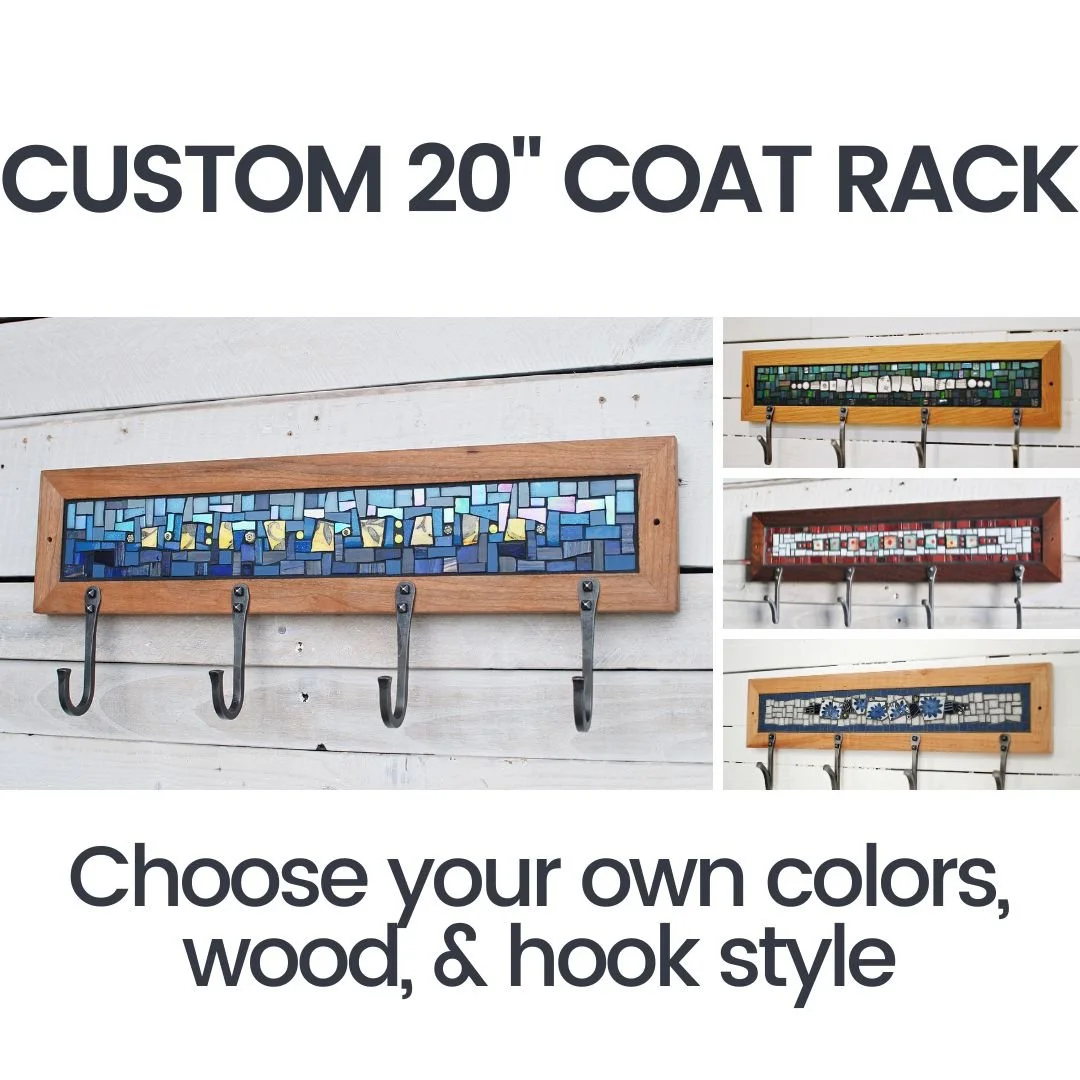
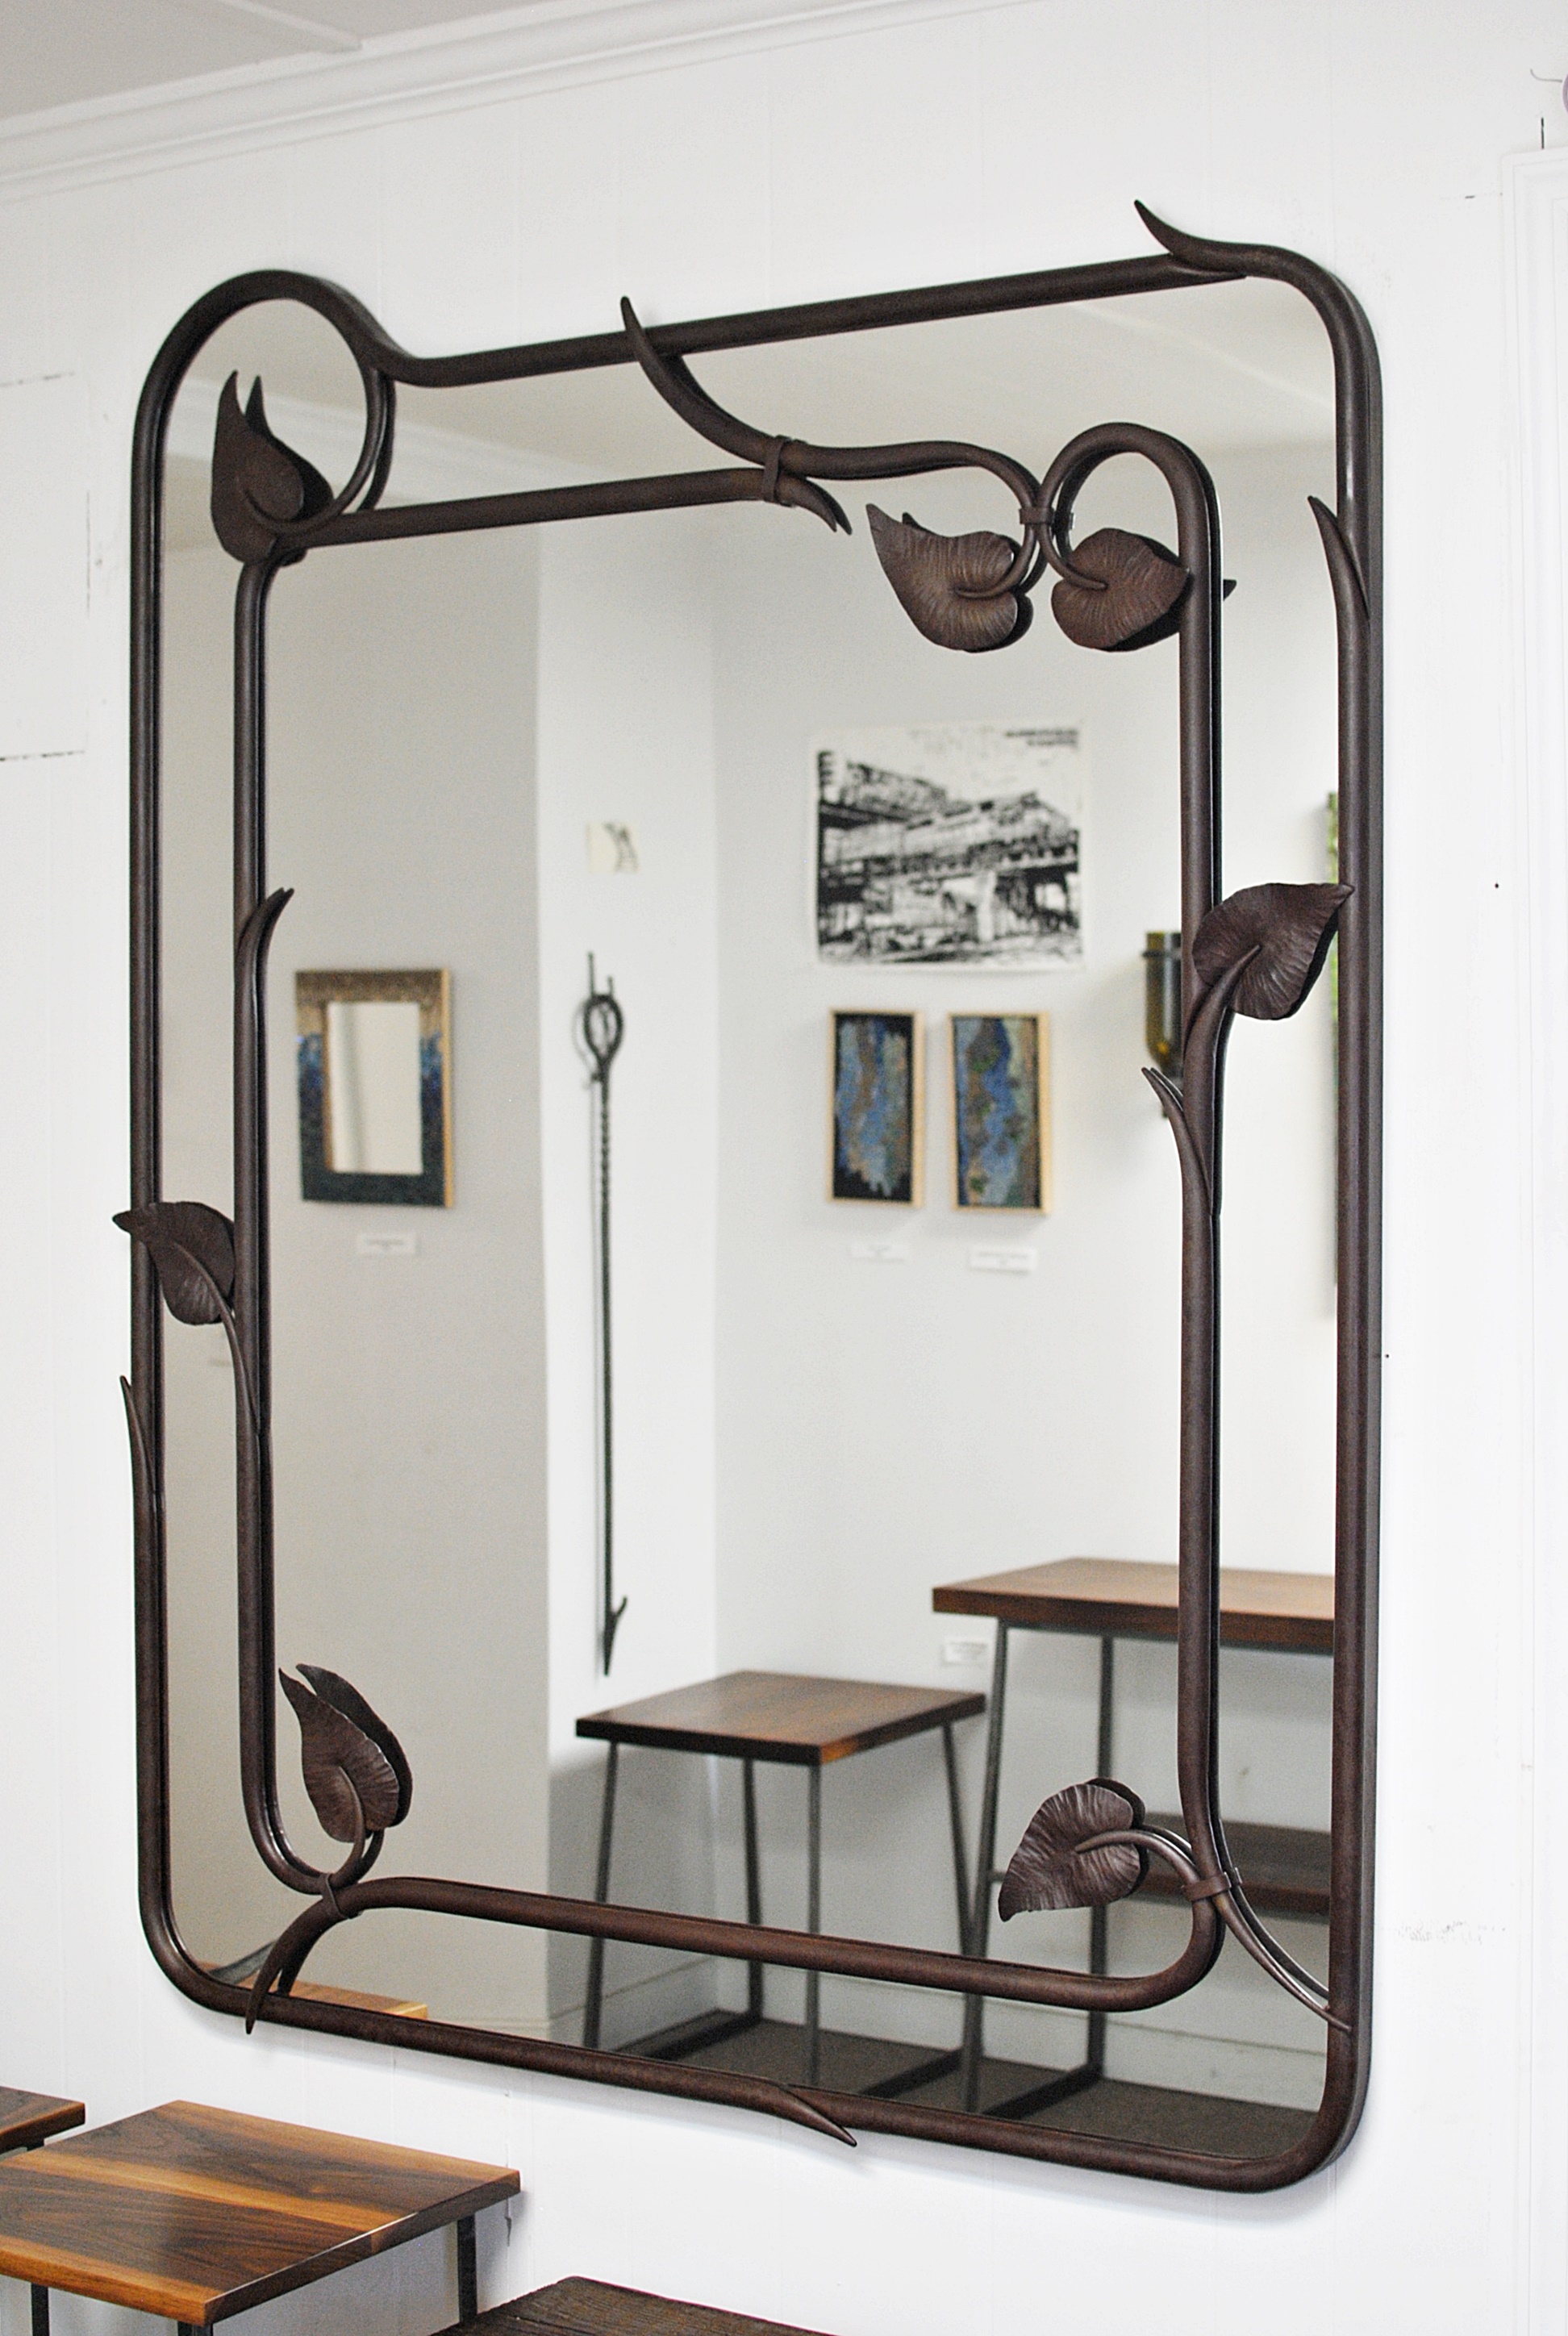
And the completed coat racks! Whether you are celebrating a special memory or looking for a unique way to hang your jackets in style all while complementing the room, our mosaic coat racks are the perfect thing. We offer them in three sizes: two hooks, four hooks, and six hooks. We love working with our clients to create a one-of-a-kind piece of functional artwork just for them.